OVERVIEW:
Here is the first of three decklists used in the video. All of them were built with some very loose Gem/Crafting Point "restrictions" to fit with the theme we were going for, and this is the more costly, gimmicky slot out of the three.
As the name suggests, this deck is a """modernized""" version of the long-forgotten Frog Sea Lancer lists, having the same general gameplan, but using many elements that have been added to the game since their inception to attempt to do so with more success.
GAMEPLAY:
Something that's going to be a running theme with these lists in terms of gameplay is the lack of a linear gameplan. It's not that they don't have certain cards and board-states which they center around, but having highly-consistent engines, 1-card combos and things of the sort wouldn't have fit well with the theme of the video, so summarizing the strategies for these decks isn't gonna come down to just explaining a route or two, but instead listing out the main resources you'll need to focus on and what plays they can enable, since you won't have much of a choice of when you'll have access to each one.
But also we won't be going too deep into it since, let's be honest, even if you wanted to play something resembling these lists, you wouldn't do so with these cards.
The obvious primary cards here are Sea Lancer and Swap Frog. To be able to set up S.L, you're going to need to have access to 2 things simultaneously:
1. Two Activations of S.F.
2. A way to send S.L into the GY.
The former is simple enough to do, but getting access to the latter, especially simultaneously, is a little trickier. There's the obvious scenario of just hard-drawing S.L to discard with S.F, but when you need to do both separately you need to be a bit careful, since most of the key cards in the deck require you to discard other cards to activate their effects AKA, there's a bit of overlap with the costs of all your cards. This is the reason why the ratios of all the water monsters are so high and why S.L is at 3; water monsters in your hand are your main fuel source, and hard-drawing S.L is pretty much the best way to set it up.
Once you do have access to both of those things though, it's pretty straightforward:
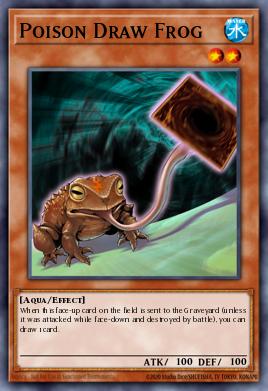
-Use the 2 S.F activations to dump Poison Draw Frog and Ronintoadin while getting S.F onto the field, then get S.L into the GY.
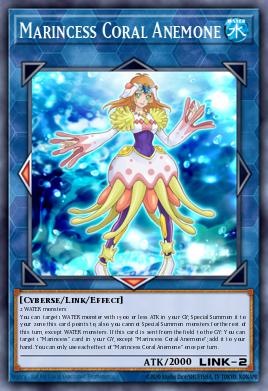
-Banish Draw Frog to summon Ronin, then use it and S.F to make Coral Anemone, and use that to summon S.L from the GY.
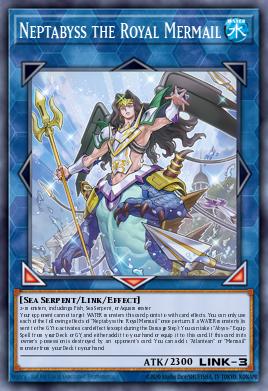
-Use Ronin again, banishing S.F to summon itself, then use it and Anemone to summon either Neptabyss to protect S.L, or Mistarboy to establish dominance, then activate S.L to equip all your banished monsters.
This is the barebones line to set up S.L, but obviously, whatever other key cards you have in your hand can be used to add on to/substitute this board:
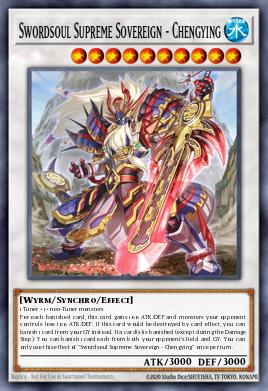
-Aegirine gets you a Chengying on its own for a discard.
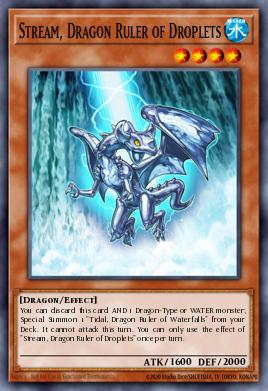
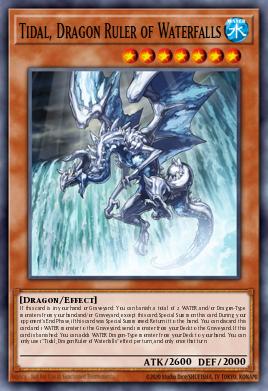
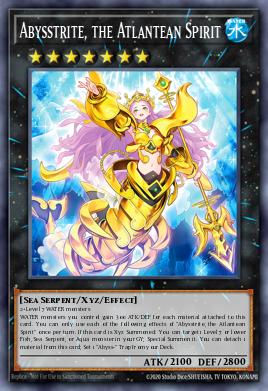
-Tidal can summon itself pretty easily to allow you to stack multiple ED monsters at once, while also providing some neat synergy with S.L by banishing extra stuff like Mistarboy for it to equip to itself and proc.
-Undine basically acts as an extender, letting you dump a resource that your starting hand doesn’t have access to without costing another card to do so, which gives you more breathing room to stack more stuff onto your board. Tidal can sort of do this as well with its hand effect, but it’s way more inefficient and often not worth it over its summon effect.
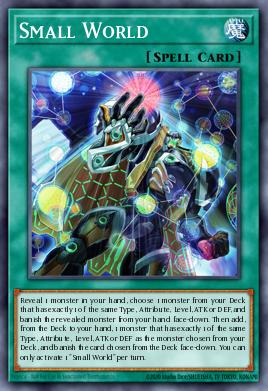
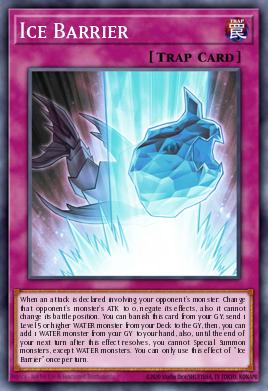
Apart from the key cards, there’s not much of note. The backrow lineup is mostly self-evident, with just a playset of Small World, to make use of S.L actually being a really good bridge, and few board-breakers, to try to add some sort of reward for actually activating Draw Frog’s effect. The ED, apart from the previously-mentioned cards, only has a few removal options and a few small payoffs to stack on your turn 1 boards when your openers are particularly good.
Overall, this is a deck that serves its purpose very well; it makes for an entertaining video. Is it any good? No, but that’s not the point.
I will say though, there is actually some potential to be explored with Sea Lancer: The way it can be used as pseudo-recovery for banished fishes, and the way it can enable some on-destruction effects with its protection effect could open up some neat synergies. It would be really cool to see someone more skilled try to experiment with this card. Personally we thought of maybe bouncing back the equipped cards? I dunno.
Thank you for watching!
Here are the other decks used in the video:
Normal Pendulum Fusion Pile (https://ygoprodeck.com/deck/md-normal-pendulum-fusion-pile-699431)
Dino Pack Filler Pile (https://ygoprodeck.com/deck/md-dino-pack-filler-pile-699432)

 120
120 420
420 780
780 300
300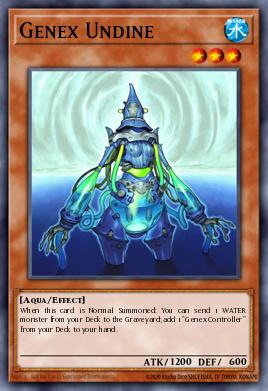






















 Cool
0
Cool
0
 Funny
0
Funny
0
 Angry
0
Angry
0
 Sad
0
Sad
0