Invoked Elysium - Tearlaments / Ishizu / Bystial / Fiendsmith
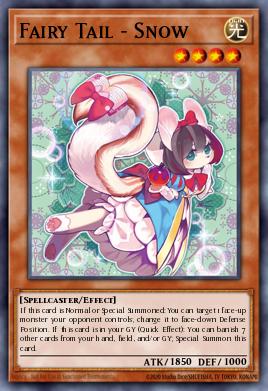
This Tearlaments domain deck uses Invoked Elysium as a Deck Master to have access to any monster from the game, including some extra deck monsters and cards with great graveyard effects like Level Eater, Fairy Tail - Snow, and the Ishizu cards. This is a very combo-centric build, which tries to make a big and impactful board to dominate the game from the beginning (which could naturally make you the target/archenemy). I'd love to listen to your ideas and suggestions about the list, or corrections if I misinterpreted any rules.
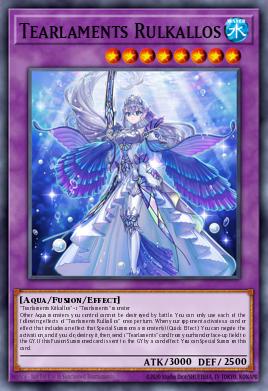
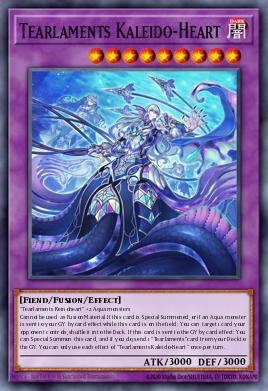
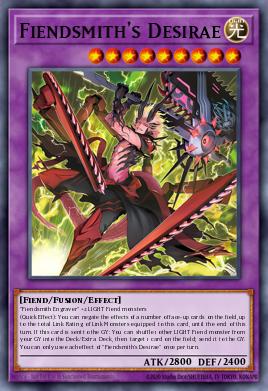
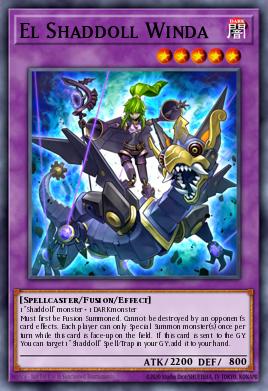
Your end board will interact with your opponents using cards like Tearlaments Kaleido-Heart, Tearlaments Rulkallos, El Shaddoll Winda, and possibly Fiendsmith's Desirae, Apollousa, Bow of the Goddess (indestructable by I:P Masquerena's effect), Tearlaments Sulliek, Primeval Planet Perlereino, Mudora the Sword Oracle, and Keldo the Sacred Protector, with the protection of Spright Elf.
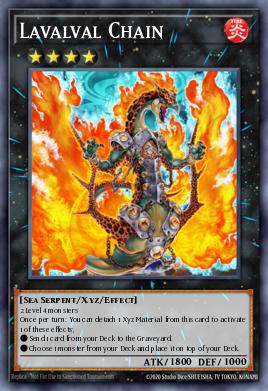
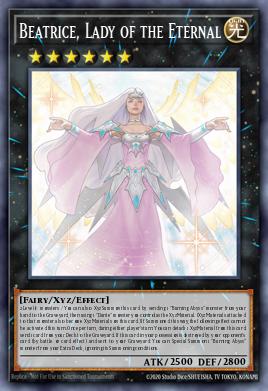
Like in any other Tearlaments strategy, your combo can extend a lot depending on your draws and mills. This decklist focuses on consistency, with cards like Beatrice, Lady of the Eternal, and Lavalval Chain, which can send any card from the deck to the graveyard, and Crystron Halqifibrax with Diviner of the Herald, and Spright Sprind, which you can use to send an Ishizu card to mill 5.
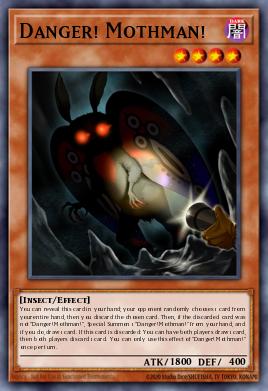
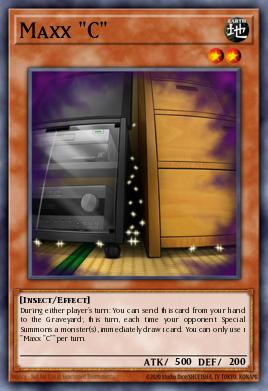
Because this deck master won't be your one-card combo like many others, I decided to add a lot of starters and tutors in the main deck, adding up to a total of 11 cards that can start your combo. Considering you start with 6 cards in hand, you have a 72% chance of drawing at least one of those cards (you can check them in more detail in the Combos section). I'm not including Pot of Greed, Graceful Charity, Maxx "C", Card Destruction, Last Will, Danger! Mothman!, and Danger! Nessie! in this percentage, because they are great cards to have in your starting hand, but won't start combos by themselves (including them would make it 89%).
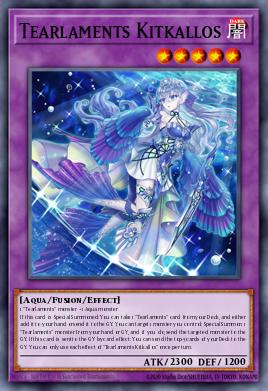
Another important part of mill-based decks is the cards you want to mill. This list includes 16 cards you want to mill, focusing more on the quality of the milled card effects, rather than quantity. In a 5-card mill from Tearlaments Kitkallos, considering your deck has 60 cards, you have an 80% chance to mill at least one of them. In a 10-card mill from Tearlaments Kitkallos with Tearlaments Kashtira, and a deck of 53 cards (-6 from your starting hand and -1 from Tearlaments Kashtira), you have a 88% of chance to mill two of those cards, 64% of milling 3 of them, and a 47% chance to mill a Tearlaments monster that can make a fusion.
Of course, these numbers assume you did not draw one of those cards and didn't play any other cards that would make your deck thinner. Many times, using Tearlaments Kitkallos and Tearlaments Kashtira is not the optimal play, considering there are lots of ways to foolish specific cards to the graveyard, and that you can mill more later in the combo using Diviner of the Herald, and an Ishizu miller.
Card Highlights
One for One: This is one of the best spells to draw in your starting hand, working as both a starter and extender. The best card you have access to with this card is Magical Scientist, which is one of your best starters. If you already have a great hand and prefer to use this as an extender, you can summon Glow-Up Bulb, which you can use to make the Diviner of the Herald combo and still activate Glow-Up Bulb's effect in the graveyard. You can even summon Level Eater and go into link plays if it works best according to your hand.
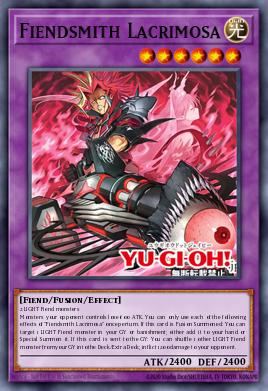
Bystial package (Bystial Magnamhut, Bystial Druiswurm, Bystial Saronir, Bystial Baldrake, The Bystial Lubellion, Branded Regained): You may already know Bystials are great, but they work better than you imagine in this deck. Their common use is as a hand trap that interacts with cards in the graveyard. But they also are level 6 monsters, which is actually big for this list. Already having a level 6 monster on the field before your turn starts means you won't need to summon Fiendsmith's Lacrima with Fiendsmith's Sequence to summon Fiendsmith Engraver and go into Beatrice, Lady of the Eternal. You can, instead, use Fiendsmith Engraver's effect in the graveyard to special summon itself to make Beatrice, Lady of the Eternal with the bystial, and use the Fiendsmith's Sequence effect to summon Fiendsmith's Desirae instead, which is your best omninegate that can also be activated every turn. You have a 35% chance to start with one of these cards and do this alternative combo. This package also gives the deck access to Branded Regained via The Bystial Lubellion, which you can activate even with light or dark monsters your opponents control to draw cards and recycle your cards.
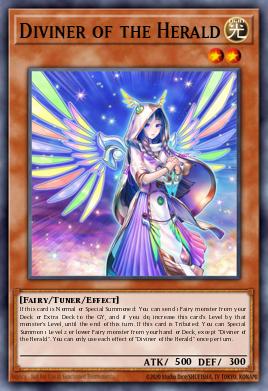
Diviner of the Herald: This card is going to send an Ishizu miller to the graveyard (or shuffler if you need it) to mill 5 cards. It's accessible in two ways, one is by sending Glow-Up Bulb to the graveyard and activating its effect to special summon it back and use another material on board to summon Crystron Halqifibrax, which will summon Diviner of the Herald, negating its effects. You can then go into Spright Elf using both cards to resummon Diviner of the Herald and activate its effects. The other way is by simply milling it and summoning Spright Elf to summon it from the graveyard.
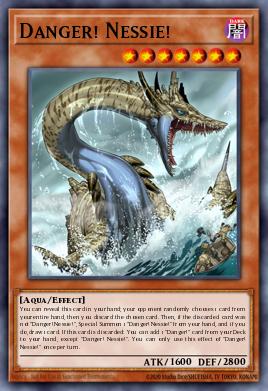
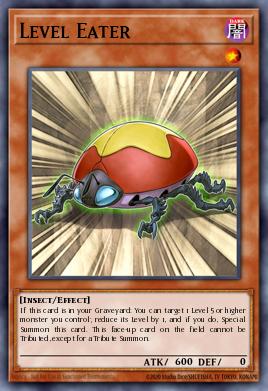
Level Eater: This monster can special summon itself from the graveyard multiple times in a turn, working as a great extender to go into your link plays by reducing the level of your fusions, and enabling Xyz plays with non-usual monsters. For example, you can use Tearlaments Kashtira and Danger! Nessie! as materials to make Beatrice, Lady of the Eternal, and Tearlaments Kitkallos as a material for Lavalval Chain.
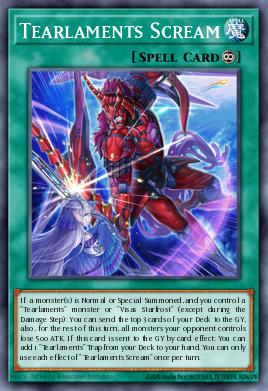
Tearlaments Scream: This spell is much better in this format, because it allows you to mill 3 cards during each opponent's turn, making it 12 cards in a turn cycle. The attack loss effect is also much stronger because you can use it to make your board harder to break as usual, or as a political tool. You can either make an opponent easier to be attacked, or use this card as a combat trick if your opponent can summon a monster during the battle phase.
Combos
The combo can start in many ways, each with their advantages and disadvantages (which are covered below), but you'll always follow a specific game plan, and your cards will generally look for specific others, which change according to your hand, graveyard and board. Because of the non-linear structure of the combo, I separated some of the main extenders and what you should do with them, instead of explaining a single combo line.
Starters:
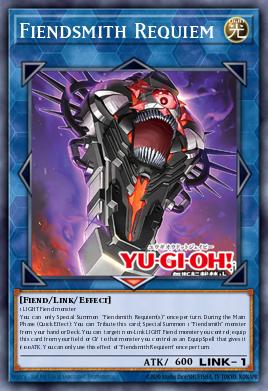
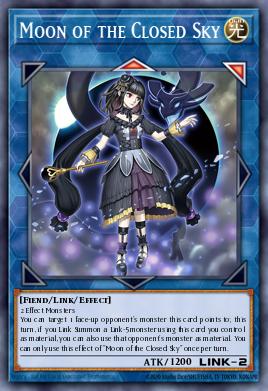
Fiendsmith Engraver or Fiendsmith's Tract: If you start with one of these in hand, you can start with the Fiendsmith combo before committing to the main Tearlaments combo, while baiting for interactions. This combo also starts with any two monsters on board, by going into Moon of the Closed Heaven and Fiendsmith's Requiem. If the combo passes, you'll have Fiendsmith's Sequence and Beatrice, Lady of the Eternal (or Fiendsmith's Desirae if you have a bystial in hand) on board.
Painful Choice: This is one of the strongest cards in the game and the best starter by far. There are many, many possible combinations depending on our playstyle and hand. The combination I like to add is: Tearlaments Reinoheart, Tearlaments Scheiren, Tearlaments Merrli, Tearlaments Heartbeat and Tearlaments Sulliek. With this combination, you can get a board with Tearlaments Kaleido-Heart, Tearlaments Kitkallos, (possibly) Tearlaments Sulliek, and Tearlaments Kashtira in the graveyard milling 2 extra cards (or 8 more by using Tearlaments Kitkallos' effect).
I like this combination because it creates some difficult mind games for your opponent. The correct card choice to add to your hand is Tearlaments Sulliek, but it's not intuitive because you're sending Tearlaments Heartbeat to the graveyard to try to add Tearlaments Sulliek to your hand, so your opponents might try to avoid giving you the card by choosing Tearlaments Heartbeat instead. But you'll send it to the graveyard using Tearlaments Reinoheart effect, so you'll be able to both use its effect in the graveyard to add another Tearlaments monster to the hand and add it back to your hand too, so this is the worst choice for your opponents, because you'll be able to add Tearlaments Kashtira using Tearlaments Sulliek, and a Tearlaments spell or trap using Tearlaments Kitkallos, or even Tearlaments Scheiren, which you can use to summon Lavalval Chain by not activating Tearlaments Reinoheart effect immediatly. You'll end up on a similar end board if, for some reason, your opponent chooses to add Tearlaments Reinoheart to your hand. Alternatively, your opponent might be afraid of your fusions and select Tearlaments Merrli, but you actually won't use the fusion summon effect of your two monsters; you'll first make Tearlaments Kitkallos and then use it or Tearlaments Reinoheart to make Tearlaments Kaleido-Heart. With the correct choice of adding Tearlaments Sulliek to your hand, you'd have to choose between having Tearlaments Sulliek in your hand or summoning both Tearlaments Kitkallos and Tearlaments Kaleido-Heart. So, this is indeed a very painful choice for your opponent and an amazing board for only one card.
Magical Scientist: This is your best starter after Painful Choice, because it can be used to special summon Tearlaments Kitkallos to extend your plays, while not using a tear name like Tearlaments Reinoheart would. You can also summon Tearlaments Kitkallos again after you've summoned Tearlaments Rulkallos and returned it to the extra deck. Magical Scientist will also be a body for your link plays after summoning Tearlaments Kitkallos. Lastly, you can also summon Fiendsmith's Lacrima if you have another level 6 monster to easily summon Beatrice, Lady of the Eternal.
One for One: You can use this as a starter to summon Magical Scientist from the deck. The upside is you don't use your normal summon, and the downside is you have to send a monster from your hand to the graveyard for cost.
Instant Fusion: This is no Magical Scientist, but it is another great starter. This is an instant Tearlaments Kitkallos, that doesn't use your normal summon, nor a Tearlament fusion effect.
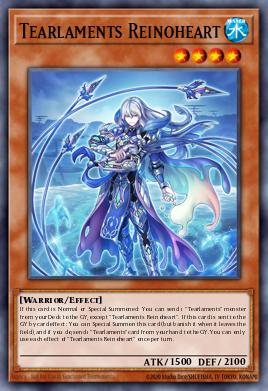
Tearlaments Reinoheart: This is the card you'll most likely start your combo with and what most of your tutors are searching for. Basically, if you can summon it and activate its effect, you'll summon a Tearlaments Kitkallos and extend from there.
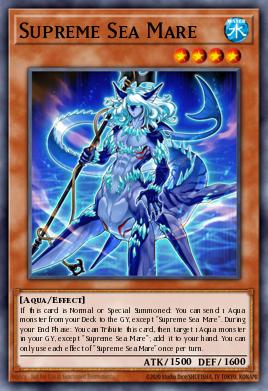
Supreme Sea Mare: This is actually a worse card than Tearlaments Reinoheart, but a better starter, because you won't use the effect of Tearlaments Reinoheart, and will be able to activate it after searching for it with Tearlaments Kitkallos or milling it and activating its second effect to special summon it. Other than this, this monster has the same effect as Tearlaments Reinoheart.
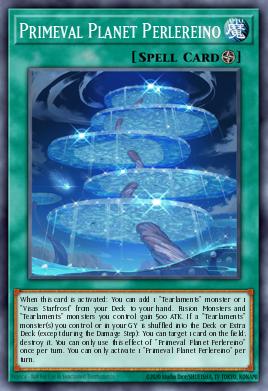
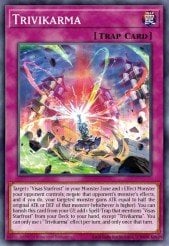
Primeval Planet Perlereino, Terraforming, and Foolish Burial Goods: Foolish Burial Goods will send Trivikarma to the graveyard, which will add Primeval Planet Perlereino, just like Terraforming. You'll then use the field to add Tearlaments Reinoheart and combo from there. You can also use the field as an extender.
No starter combo: So, let's suppose you had bad luck and did not draw any starter in your starting hand, how can you play? This combo still requires some luck but... You still have a 48% chance to draw at least one of 6 monsters (the Bystials and the Dangers) that can be special summoned, with a 78% chance to draw a second monster that can be normal summoned. You can then use those two monsters to make Moon of the Closed Heaven and go through the full Fiendsmith combo for a Beatrice, Lady of the Eternal. In this scenario, the best cards that could be foolished are Trivikarma, Glow-Up Bulb, or Tearlaments Reinoheart (if you have any Tearlaments card in hand, which is 52% chance considering your other 4 draws, but you can also combo from there as if you had any other starter).
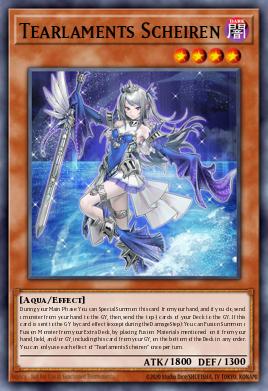
Using Trivikarma, you can go for Primeval Planet Perlereino and add a Tearlaments monster, Tearlaments Scheiren. Which you could special summon if you have another monster in hand, and mill 3, and then use Tearlaments Scheiren and Fiendsmith's Sequence to make Spright Elf to protect your monsters, or I:P Masquerena, which you could turn into a three material Apollousa, Bow of the Goddess during your opponents next turn. If you don't have a monster in hand and don't mill any useful card, you can still activate Beatrice, Lady of the Eternal again during your opponent's turn, send any of the Tearlaments monsters that can fusion with Tearlaments Scheiren, to make Tearlaments Kitkallos, which can then send another Tearlaments monster that you can activate to make Tearlaments Rulkallos. So, you'll probably have a special summon negate with Tearlaments Rulkallos, followed by up to 3 monster negates with an undestructable Apollousa, Bow of the Goddess.
The second option is sending Glow-Up Bulb, which you can use to make Crystron Halqifibrax, summoning Diviner of the Herald, which you use to make Spright Elf with Fiendsmith's Sequence, to activate the effect of Diviner of the Herald, sending an Ishizu miller and milling 5 cards. In your opponent's turn, you'll also be able to activate Beatrice, Lady of the Eternal effect again, foolishing a card depending on what you have. Hopefully, you'll be able to continue your combo with the rest of your hand and the cards you mill. This option can have a higher ceiling than the previous one, but it depends much more on luck too.
Extenders:
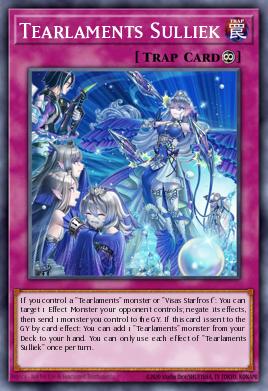
Tearlaments Kitkallos: The cards you want to add with Tearlaments Kitkallos are the Tearlaments spells and traps, because they are very powerful and you don't have easy ways to access them from the graveyard. Tearlaments Sulliek is my favorite because it's a great interaction that allows you to fusion summon again using Tearlaments Kaleido-Heart, many times into El Shaddoll Winda, another good option is Tearlaments Scream, which is highlighted above. But you can only have the luxury of doing so if your hand is good enough, because otherwise, Tearlaments Kitkallos will generally work as an extender.
Your options are to add Tearlaments Reinoheart (if this was not the starter you used to summon Tearlaments Kitkallos) which you'll then use to make Tearlaments Kaleido-Heart, or to send Tearlaments Kashtira if you want to try you luck, milling 10 by sending it to the graveyard and summoning it using Tearlaments Kitkallos second effect, or Tearlaments Scheiren if you have a monster you want to discard in your hand, or another level 4 monster you can use to make Lavalval Chain.
Beatrice, Lady of the Eternal and Lavalval Chain: There are a lot of options for plays with these cards and the best choice will heavily depend on your hand, graveyard and field, but some common ideas are: Trivikarma if you don't have Primeval Planet Perlereino in play, Level Eater to enable a lot of plays as described in the card highlight, Glow-Up Bloom to go through the Diviner of the Herald combo and mill an Ishizu, Shaddoll Squamata to make El Shaddoll Winda latter, or simply a Tearlaments monster to fusion summon another monster.
Alternative cards
Those are some alternatives you might consider, with the pros and cons of each card I noticed while building and testing this deck. There are many great extra deck monsters I'd love to include in the deck, but the space is tight (both in the Extra Deck and on the board), so I tried to focus more on monsters that increase consistency and extend your combo.
Cards you may want to cut:
Sales Pitch, The Bystial Lubellion, Branded Regained, Danger! Nessie!, Danger! Mothman!, El Shaddoll Winda, Shaddoll Beast, Shaddoll Squamata.
Main deck alternatives:
Kashtira Package (Kashtira Unicorn / Kashtira Fenrir / Pressured Planet Wraitsoth)
Magical Stone Excavation: This is a way to both have some recursion and to use milled spells from the graveyard. Because this deck has many great spells, this might be a good choice, but discarding 2 cards for cost is a very high cost and this is definitely not the card you want to see getting milled.
Upstart Goblin: You can run this to increase the consistency by a little bit, but I don't think it's worth it because it's not a good mill, and the extra 4000 life points you distribute to your opponents might give one of them the chance of an extra turn to try to break your board and fight back.
Mirage of Nightmare
Appropriate
Destrudo the Lost Dragon's Frisson: You can use Destrudo to make Baronne de Fleur (if you decide to include it) much easier. You can see below why I chose not to include Baronne de Fleur.
Extra deck alternatives:
Predaplant Dragostapelia: This is a good fusion to go into if you already summoned your Tearlaments fusions, but can still summon another fusion because you could summon Tearlaments Kitkallos with Magical Scientist or Instant Fusion. Or if you want to make the fusion during your opponents' turn with Beatrice, Lady of the Eternal. It's a powerful monster negate, but this role is already being filled by Tearlaments Sulliek, Apollousa, Bow of the Goddess, and even Fiendsmith's Desirae if necessary. Also, I usually prefer summoning an El Shaddoll Winda with Beatrice, Lady of the Eternal, so I decided to cut this card. If you prefer to remove the Shaddoll package, this is a great card to include.
Curious, the Lightsworn Dominion: A great extender with its foolish and mill 3 effect. The reason I decided not to include it is because of it's harder summoning material in comparison to cards like Lavalval Chain and Beatrice, Lady of the Eternal which cover the same effect. If you add a small lightsworn package or other cards that can swarm the field, this card gets much more useful.
S:P Little Knight: You can make this after the Fiendsmith combo with Fiendsmith's Sequence, to activate the first effect easily. It's a good way to try to deal with a problem, but it requires a target. The second effect only banishes the card of one of your opponents. Because domain is a multiplayer format, I'm not much of a fan of a card that focuses that much on spot removal and interacting with a single opponent.
Elder Entity Norden: You can summon this card with Magical Scientist, and then use another level 4 in your graveyard to summon a Lavalval Chain, and further extend your plays according to what you need in the graveyard. I decided to cut this card because although it's a great extender play, you can only access it using Magical Scientist, One for One, Last Will, and Small World, so you'd only see this card in play in around 35% of your games, which is not a good ratio for a tight extra deck like this one.
Baronne de Fleur: This is a one-use omninegate, which can also, during your turn, destroy any card on the field (which is much more relevant considering 75% of the time you're not the first to play). You can also use the reborn effect (preferably after you used the omninegate) to special summon one of your fusions that were destroyed. This is a good card, but I've had some problems with it in this deck. While the omninegate is awesome, being able to use it only once makes it much worse, because you might use it proactively during one player's turn, and not have the negate for a board breaker from another, so you need to be very careful when you use this effect. Also, the only way to summon this card in the current list is by using Diviner of the Herald and a level 4 monster, which makes it situational. I highly recommend adding a Destrudo the Lost Dragon's Frisson and consider adding the Kashtira package if you want to use this card.
Abyss Dweller: This is a good graveyard hate floodgate, but it can only be activated during two players' turns (if it doesn't get removed before), also, not all decks are equally impacted by this effect, so this is not as good as in a single-player format.


 Cool
0
Cool
0
 Funny
0
Funny
0
 Angry
0
Angry
0
 Sad
0
Sad
0