Deck Primer
This Deck has been played wrong for too long, with the new support of Abyss Shark and Crystal Shark it has finally reached a competitive level of power and consistency that it was missing before.
The goal of this deck is to summon as many level 4 monsters so you can summon as many powerful rank 4 monsters from your extra deck as possible to protect you but to also keep your opponent from building up their board. Which means you want to go first however you comfortably go second even in the first duel of a match.
I am going to explain what you can do with the cards and what they can do for you but won't just list their effects, I don't expect you to but it's helpful to read the cards at least once before I describe them.
In this list I will use terms like card names and other important information will be in bold, if it is a particularly important combo it will be in blue, ED for “extra deck”, GY for “graveyard”, NOPT for “not once per turn”, and (Explained below) to references of a card’s effect outside of its own description and that you will understand why in the description for that card.
Cards that make you XYZ (Starters):


Cards that let you go farther (extenders):

Single card you don't want to draw (“garnets” kinda):
Kaijus and Hand Traps in the Main Deck(Staples):
 :)
:)

Monsters you are trying to summon (Boss monsters)


Side Deck and Siding (Change’s with meta):
Extra tips for side decking:
Combos:
Notes:
The goal of this deck is to summon as many level 4 monsters so you can summon as many powerful rank 4 monsters from your extra deck as possible to protect you but to also keep your opponent from building up their board. Which means you want to go first however you comfortably go second even in the first duel of a match.
I am going to explain what you can do with the cards and what they can do for you but won't just list their effects, I don't expect you to but it's helpful to read the cards at least once before I describe them.
In this list I will use terms like card names and other important information will be in bold, if it is a particularly important combo it will be in blue, ED for “extra deck”, GY for “graveyard”, NOPT for “not once per turn”, and (Explained below) to references of a card’s effect outside of its own description and that you will understand why in the description for that card.
Cards that make you XYZ (Starters):
- Foolish Burial
- If you draw this card you want to play it first.
- The best targets to send are Right-Hand Shark then Crystal Shark (most of the time).
- You need to draw another monster or extender to make any XYZ.
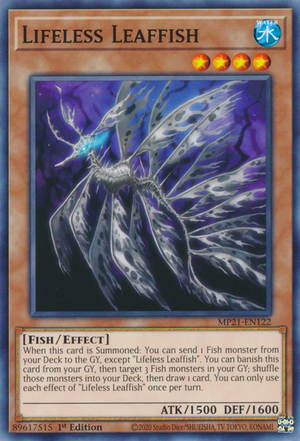
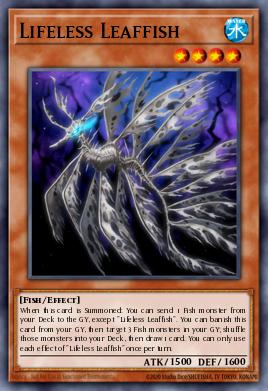
- Lifeless Leaffish
- Most lists I find are running 1 of this card and that is wrong you want 3!
- This card is a Foolish Burial with legs.
- If you have nothing else, you can send a Crystal Shark you can immediately make a Number 4: Stealth Kragen (Explained below).
- If this card is in your GY you can banish this card to target 3 other fish monsters, shuffle them back into your deck then draw 1 card.
- However if you have a Whitefish Salvage (Explained below) you can get any fish monster from your deck into your hand.
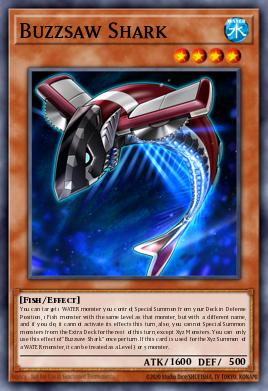
- This is your second best starter and you generally want to summon Buzzsaw Shark(Explained below) instead.
- Buzzsaw Shark
- This is the strongest starter in the deck.
- It accomplishes the same thing as Lifeless Leaffish but will summon the monster to your board instead, giving you the opportunity to make any rank 4 you want.
- You will generally use this effect to summon Right-Hand Shark (Explained below) out of the deck.
- If you draw a White Mirror you can turn this can be used to make any 2 rank 4 XYZ monster (see combos).
- Locks you into only summoning XYZ from the ED.
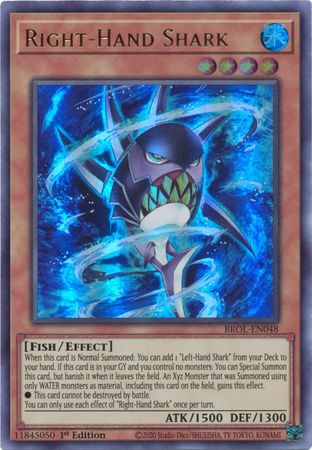
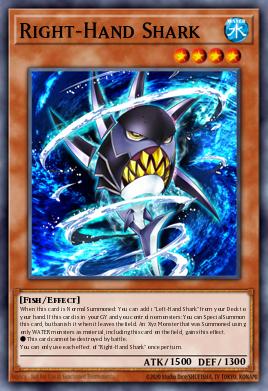
- Right-Hand Shark
- This is the worst starter in your deck because you don't want to draw this card but because it is not so useless in hand to be classified as a garnet.
- If you draw this card and no other starter you will want to normal summon or set this card depending on if you drew any helpful extenders the only reason you set this monster would be on the chance you survive and can use its effect in GY the next turn.
- It has the ability to resurrect itself from the GY if you control no monsters.
- Protects any XYZ it is overlaid under from battle which useful for Bahamut Shark and Number 59: Crooked (explained below)
Cards that let you go farther (extenders):
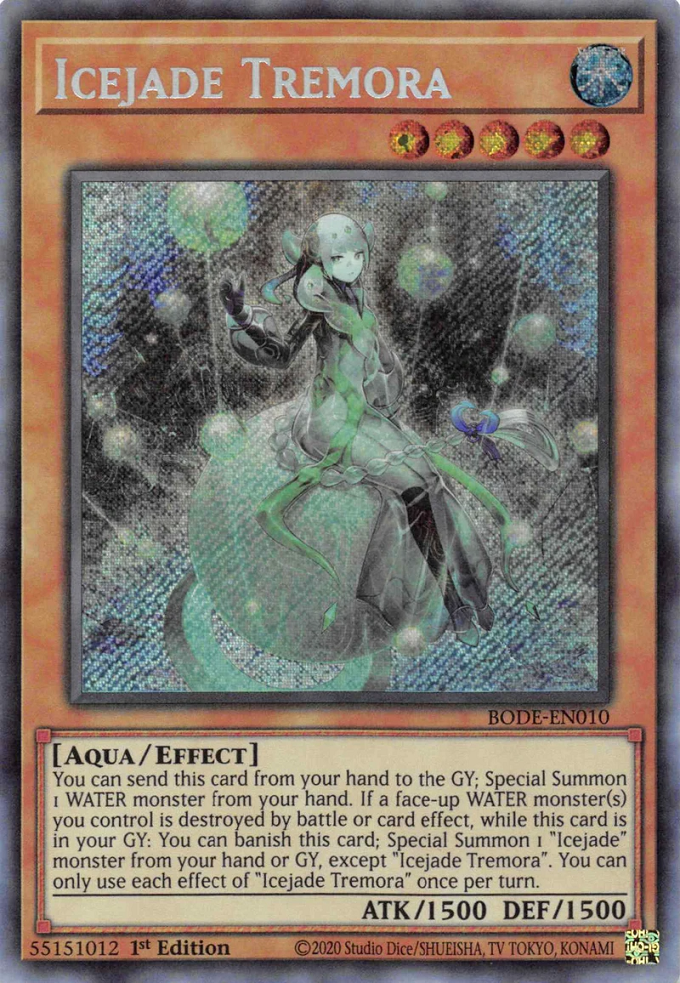
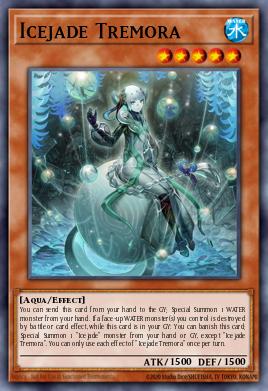
- Icejade Tremora
- You can discard this monster to summon any water monster in your hand.
- You will want to use this to summon out Superancient Deepsea King Coelacanth without tributing (Explained below).
- This card is also a level 5 and can be used to make N.As.H. Knight in certain situations.
- You are essentially running 5 of this card because of Icejade Cradle (explained below).
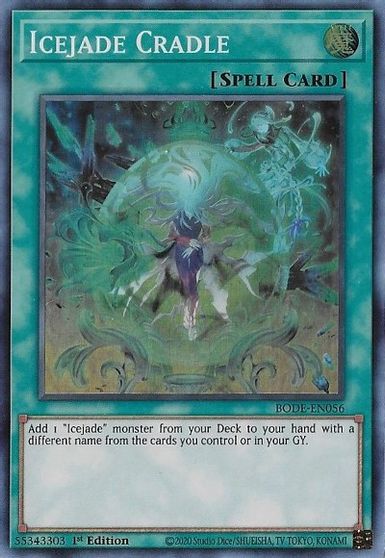
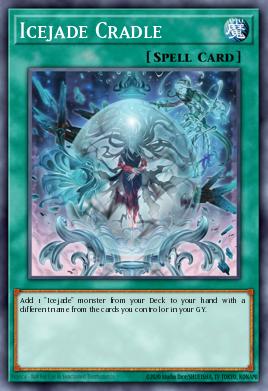
- Icejade Cradle
- It can be activated to add a Icejade Tremora to hand, this is NOPT and should be activated as much as possible before you use Tremora!
- You can not add an Icejade Tremora to hand if you have an Icejade Tremora in the GY.
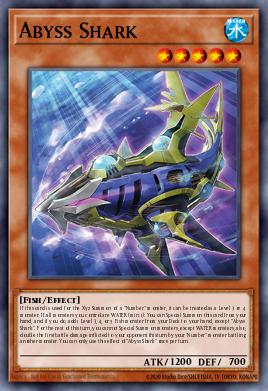
- Abyss Shark
- This is one of if not the strongest extender.
- If you control a water monster you can special summon this card from hand and add any level 4 or 5 fish monster from the deck to your hand such as Crystal Shark, Silent Angler, or White Stingray (Explained below).
- This card locks you into only summoning water monsters for the rest of the turn which will stop you from summoning Number C104: Umbral Horror Masquerade(Explained below) because it is dark.
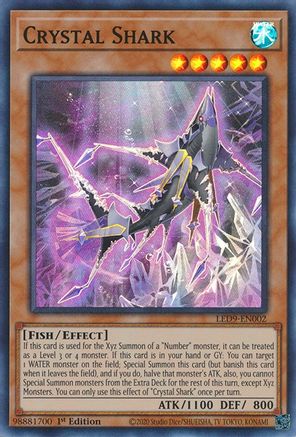
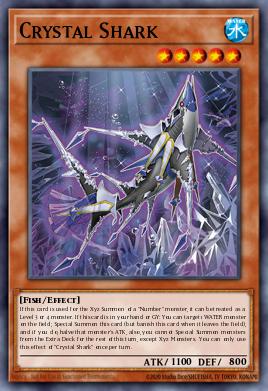
- Crystal Shark
- This can be a stronger extender than Abyss shark because you can summon it from hand or GY as long as there is a single water monster on the field.
- It special summons itself by targeting 1 water monster and cutting its attack in half as long as it is on field which only affects your opponent negatively because you can target a monster you are going to use for an XYZ if you had to pick one one your own side but if your opponent has a water monster like Gameciel, the Sea Turtle Kaiju(Explained below) you can target it instead.
- This card locks you into only being able to summon XYZ monsters from your ED for the rest of the turn.
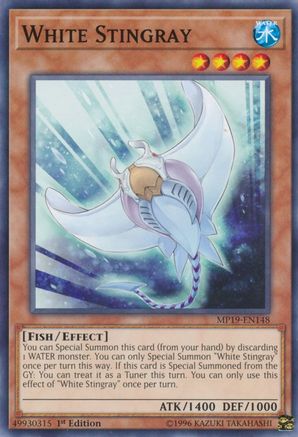
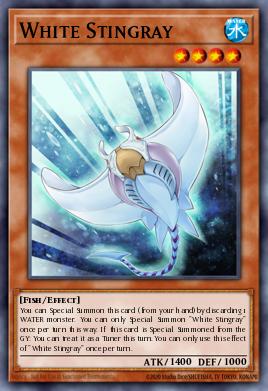
- White Stingray
- You can use this as a starter if you draw it, however it is too reliant on other cards; you only run it to search off of Abyss Shark to make a third XYZ in niche combos.
- It can summon itself from hand only by discarding a water monster which is expensive for this deck but can be worth it.
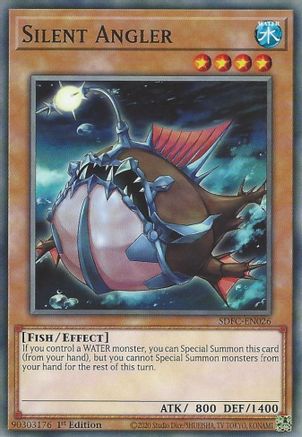
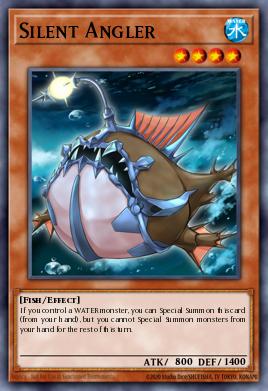
- Silent Angler
- This card reads like it's bad however it is incredible and important for many combos (Explained below).
- You can only activate its effect to summon if you control a water monster.
- Its effect does not activate when you summon it therefore its effect to summon can not be negated, only the summon can.
- It does lock you out of summoning monsters from your hand for the rest of the turn if you summon it with its effect.
- Summon this monster from hand last!
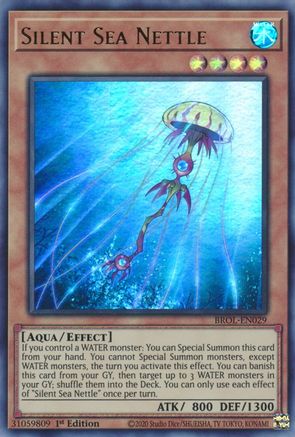
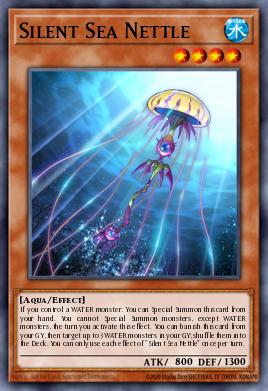
- Silent Sea Nettle
- This card is not a fish.
- However it being a level 4 water monster that can special summon itself from hand makes it very synergistic with the goal of the deck.
- Also if this card is in your GY you can target up to 3 water monsters in your GY and shuffle them into their respective decks.
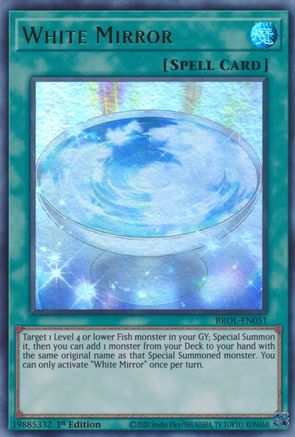
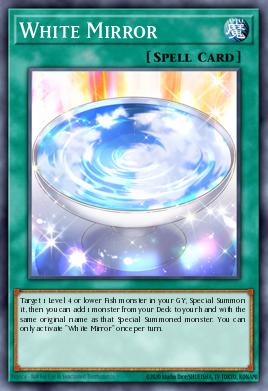
- White Mirror
- If you resolve this card's effect you are getting a plus 1 in card advantage and can lead to some of the best combos. (Explained below)
- Though you don't want to see more than 1 in your hand at the beginning of the game so you run 2 only to reduce the odds of seeing 2 in your starting hand.
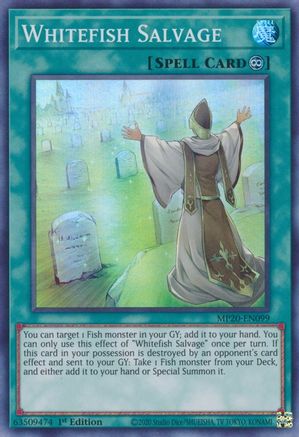
- Whitefish Salvage
- This card looks like it would not be very good, but it is.
- Because if you activate its effect it can target any fish from your GY and put it into your hand which in this deck is very helpful since you can have a difficult time adding extra resources to hand past turn one.
- However this card has a second effect which is whenever this card is destroyed and sent to the GY you can add to hand or summon any fish from your deck this is a NOPT so even if you draw 2 copies just set the extra or both and punish your opponent for destroying this card by getting whatever fish you want from the deck.
- Your opponents are also more or less likely to use spell and trap removal because of Whitefish Salvage if they blindly go destroying your spell and trap cards hoping to destroy an Infinite Impermanence (Explained below) but hit Whitefish Salvage, or they are trying to avoid giving you a Whitefish Salvage activation, your traps have less chance of being destroyed because they don't want you to activate this cards effect(this also applies to other traps that you can side in going first).
- You should generally summon Rock Scales (Explained below) with this card's second effect.
Single card you don't want to draw (“garnets” kinda):
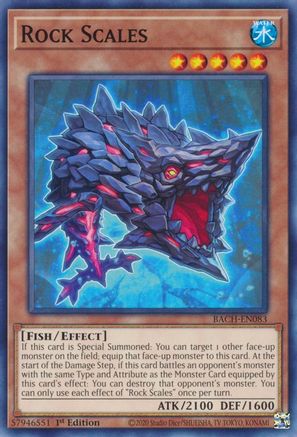
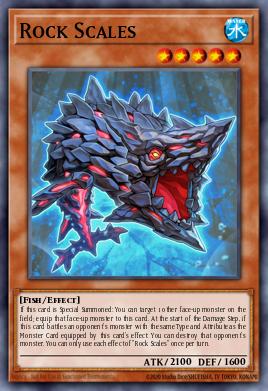
- Rock Scales
- Whitefish Salvage has not been very good before now because though the summon effect is powerful there is not a single fish card that did anything on special summon that was strong enough to make people argue about destroying it, though now the TCG has Rock Scales.
- This card is the only fish card, water or not, that has an effect on summon that can influence your opponents board.
- This card has removal that is better than destruction because by targeting 1 monster your opponent controls you can equip it to this monster and not only keep it out of GY but it is useful for its second effect.
- Not only does this card rob your opponent of control of their monster but you also have the ability that if they battle this card while it has a monster equipped with the same type of monster that it battles Rock Scales can protect itself by non-targeting destroying your opponent's monster in the damage step.
- The reason I don't see this card as a full garnet in my opinion is because it's not necessarily a dead card in hand, or kills any part of your engine, because you can summon it off of the effect of Icejade Tremora if needed and Whitefish Salvage is still fine without it.
- The fact that it is a level 5 means you can use it to go into N.As.H. Knight which gives it more versatility in this deck, though it has not come up much.
- Do not run more than one!
Kaijus and Hand Traps in the Main Deck(Staples):
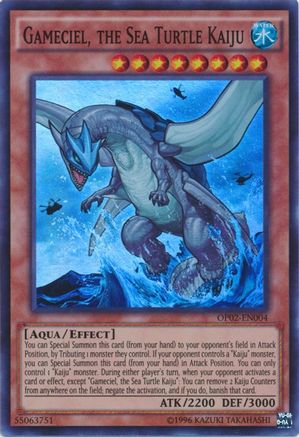
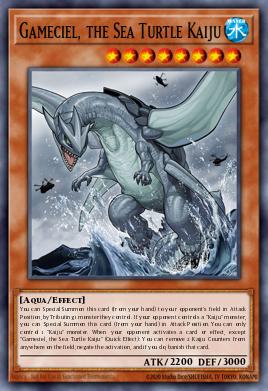
- Gameciel, the Sea Turtle Kaiju
- So the thing with Kaijus in the last few years is that most decks that play them in the main deck have not been very good however that generally is because they don't have much synergy.
- However it does here because it not only plays around any restriction in summoning inside this deck it also combos well with Abyss Shark.
- Because the deck can struggle to play through large amounts of removal or negates this card can remove at least one monster on your opponent's side of the field as long as they can be tributed and so you will never be at a complete disadvantage going second because you can even draw this card in your draw phase turn 2 and it is still as useful where Ash Blossom & Joyous Spring becomes essentially useless.
- This is the first card you side out if you are going first and side back in because you want them in the main deck in case you get stuck going second you will have them as a possibility to save you from your opponents likely established board however if you win the First duel of the match you won't side them out or change anything with your deck generally unless you know a hand trap in your extra deck that affects your opponent more like Artifact Lancea would be more useful but unlike these other Hand Traps Gameciel, the Sea Turtle Kaiju will not lose their effectiveness as often (like if your opponent does not use the thing you locked them out of using with a card like Artifact Lancea) because most decks will have a monster on field and you can remove it for essentially free.
- This card can shut down cards like Red-Eyes Dark Dragoon or Destiny HERO - Destroyer Phoenix Enforcer (neither are in this deck).
- If you draw 2, though not optimum, don't forget that if your opponent controls a Kaiju that you can summon one to your side of the field and with this deck any monster over 2000 that is on your field is helpful, try to do it when it wont clog up your board.
- Every effect on this card is NOPT.
- Do not underestimate this card.
- So the thing with Kaijus in the last few years is that most decks that play them in the main deck have not been very good however that generally is because they don't have much synergy.
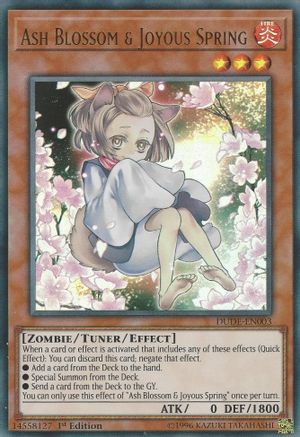
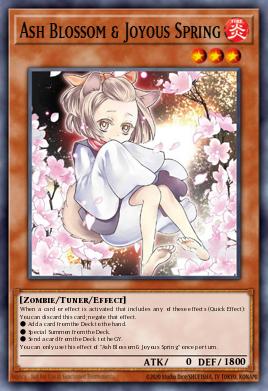
:)- Ash Blossom & Joyous Spring
- Do I need to explain this card?
- It’s strong going second and it's even stronger for you keeping control if you hold it till turn 2 if you go first.
- This never leaves the deck.
- Infinite Impermanence
- If you play correctly this card is a better Effect Veiler.
- Because similar with Ash Blossom & Joyous Spring it’s strong going second and it's even stronger for you keeping control if you set it going first then activating it on your opponent's turn so not only do you get the effect to negate but you are locking off one of their spell and trap zones and can catch them by negating one of their important spells. This will come up more often than you would think and can really influence how far your opponent can go.
- Every effect on this card is NOPT so it wont brick your hand that much if you draw multiple copies.
- This does not leave the deck because you can cut other cards to side out (Explained below).
Monsters you are trying to summon (Boss monsters)
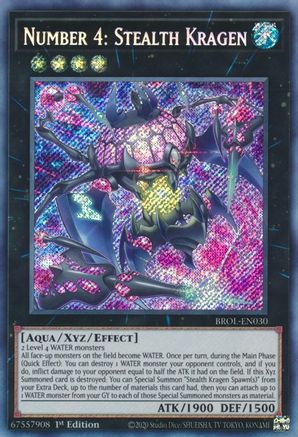
- Number 4: Stealth Kragen
- If you can only make one XYZ make this one however if you know you are able to make 2 you make Bahamut Shark first (Explained below).
- This card can win you the game or at least keep you alive another turn because of its 3 effects.
- Its first effect, turns all monsters on field into water, locking many attribute based decks out of the game until they deal with it.
- The second effect, if used correctly, can take your opponents normal summon and will win you the Duel in time it can only be used during either main phase but is a “(Quick Effect)” that targets and destroys a water monster your opponent controls then burns them for half its current attack value.
- Its third effect is what solidifies it as one of your decks most important control pieces and it is when this card is destroyed (by battle or card effect) you can special summon as many Stealth Kragen Spawn from the extra deck as Number 4: Stealth Kragen had materials when it was destroyed then give each Stealth Kragen Spawn 1 material by attaching a water monster from your GY(Explained below).
- Meaning this card can floodgate your opponent, “(Quick Effect)” destroy one monster and burn them, and protect you from getting hit with 3 to 5 attacks which gives you a chance to clean up the game on your next turn.
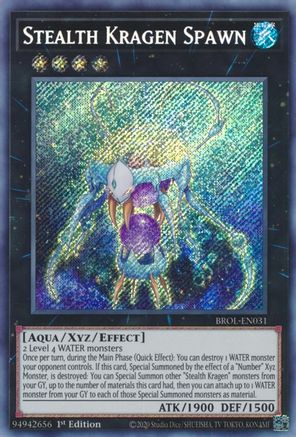
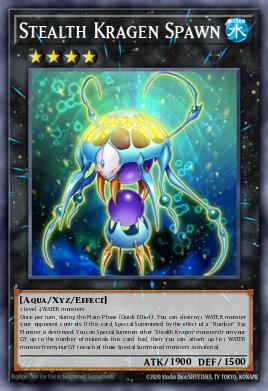
- Stealth Kragen Spawn
- You will only summon this card off of Number 4: Stealth Kragen.
- This card is very similar to Number 4: Stealth Kragen however it does not have its first effect, and its second effect does not burn your opponent.
- Its third effect however is very different where it summons Number 4: Stealth Kragen from your GY not from your extra deck up to the number of materials it had, this is NOPT, and allows you to protect yourself or keep a Number 4: Stealth Kragen on field.
- This card has insane synergy with Toadally Awesome (Explained below).
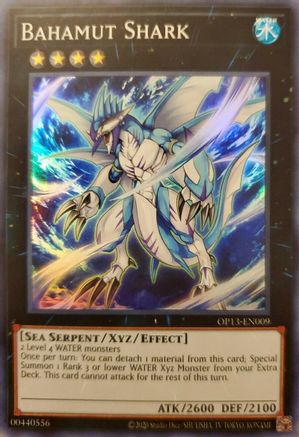
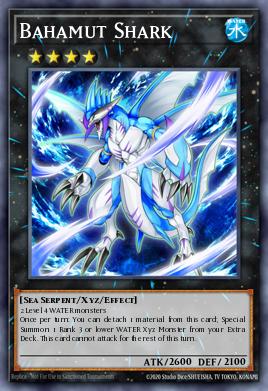
- Bahamut Shark
- On summon you should immediately activate its effect to summon Toadally Awesome
- If you can make 2 XYZ monsters this should be the first one you summon.
- It is a good idea to make it with Right-Hand Shark so you can at least protect it from battle and attempt to use its effect again in the next turn.
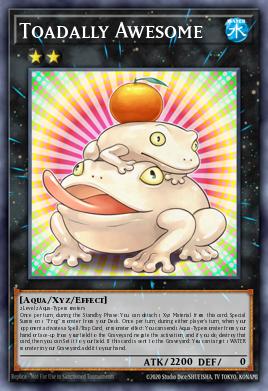
- Toadally Awesome
- This is one of the only cards where positioning matters in this deck. Because you can summon this card in the extra monster zone you will generally want to put it there so it won't clog up your main monster zones, the only time you won’t want to do this is when you know you can make 3 XYZ monsters because sometimes you need to make Marincess Coral Anemone (Explained below) to make your third XYZ.
- This card is an omni negate that destroys and gives you the option to set the card you negated and destroyed
- I recommend you almost always set the card you negate because not only does it keep it out of the GY it also keeps your opponent from being able to use it in the GY.
- When this card is sent to GY either by its own effect or is attached to a Number 4: Stealth Kragen or Stealth Kragen Spawn and is sent to the GY when the monster it is attached to gets removed from the field you get to add any water monster in your GY to your hand this is NOPT.
- You want to try and use its effect before your opponent has a chance to destroy Number 4: Stealth Kragen so you can use it as material for Stealth Kragen Spawn.
- It can target itself in the GY to put itself into the ED.
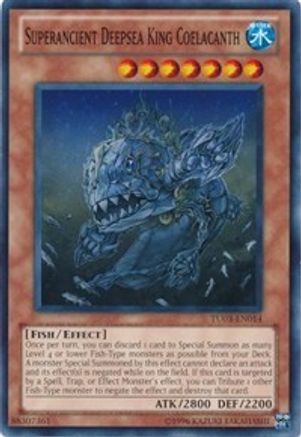
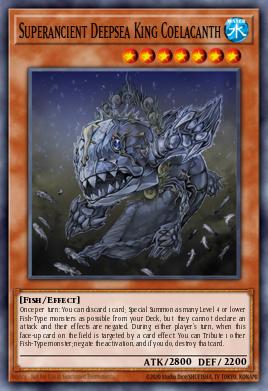
- Superancient Deepsea King Coelacanth
- You will generally only summon this card with Icejade Tremora
- You will want to hold out on using this card until you can either summon Toadally Awesome to protect you from Nibiru, the Primal Being or if you have tried to use every other card you can to run through your opponents interactions to make it safer to use.
- This card if you resolve its first effect you can summon up to 4 lvl 4 fish from your deck giving you the materials for 2 rank 4 XYZ
- You should summon the fish you would prefer not to draw out of your deck as a top deck so I recommend summoning as many of your Silent Angler copies as possible because every other fish monster in the deck is a better draw.
- However Superancient Deepsea King Coelacanth has a second effect If it is targeted while you control another fish monster on field you can negate and destroy the card that targets Superancient Deepsea King Coelacanth.
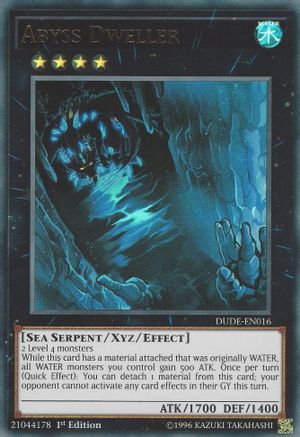
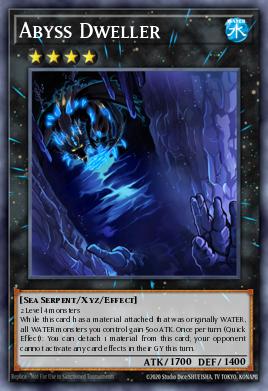
- Abyss Dweller
- This is generally the third XYZ you want to make only to lock your opponent down even more, however if you know they are very reliant on activating effects in their GY you want to maybe make this 2nd instead.
- While it has a material it gives all water monsters on field 500 attack which applies to most of your monsters. It will however also apply to your opponent's water monsters and sometimes that higher attack can help you burn your opponent with Number 4: Stealth Kragen just a little more.
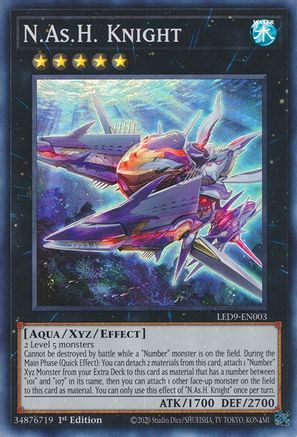
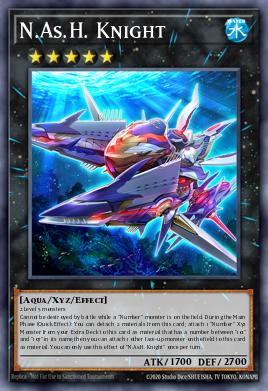
- N.As.H. Knight
- This has a similar position as Abyss Dweller where you won't summon it often but when you do you are generally going to summon it third.
- You will generally only summon this card by using Abyss Shark and Crystal Shark because they are both lvl 5’s that can search each other and can easily be summoned.
- The first effect is a protection on itself but it does not come up much.
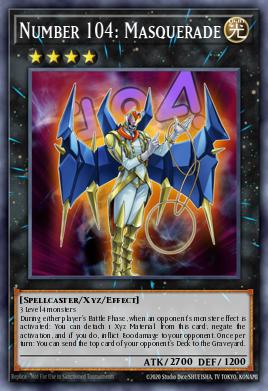
- The second effect and its support is what makes this card very powerful you can activate its effect to detach both of its materials to attach a Number 104: Masquerade from your ED and then non-targeting attach 1 other monster on the field to it. That means that you can use this effect turn one by targeting your own monster, and you might want to do that so you can set up CXyz N.As.Ch. Knight.
- You can attach a Right-Hand Shark and make this and every card you summon over it immune to destruction by battle though that is a rare situation.
- CXyz N.As.Ch. Knight
- You want to summon this on top of N.As.H. Knight.
- When you are not locked into water by Abyss Shark then activate its effect detaching N.As.H. Knight which is the least useful material (most of the time). To summon Number C104: Umbral Horror Masquerade or whatever you ended up siding it out for.
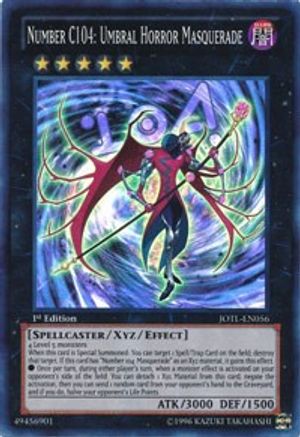
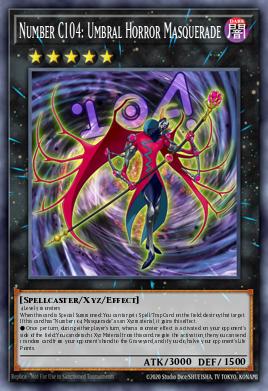
- Number C104: Umbral Horror Masquerade
- You won't be summoning this card turn one often however if you are not locked to only summoning water monsters you will want to make this card.
- On summon you can destroy 1 spell trap on the field, but this isn't why we summon it.
- We summon this card because once per turn you can Negate any monster effect your opponent activates then send a card in their hand to the grave and halve their life points.
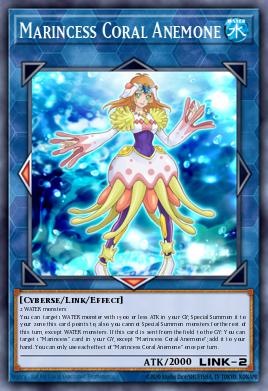
- Marincess Coral Anemone
- This card is run at one because you have multiple cards that lock you into only XYZ; however don't let that undermine its usefulness.
- Most of the time you will end up making this with Bahamut Shark and any other non XYZ monster as long as using its effect will let you make another XYZ.
- It will also help if you get hit with a Dimensional Barrier by an opponent because you can at least put a wall of monsters in front of your life points.
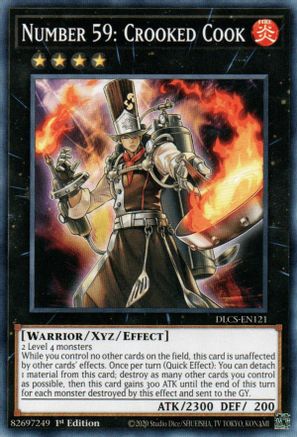
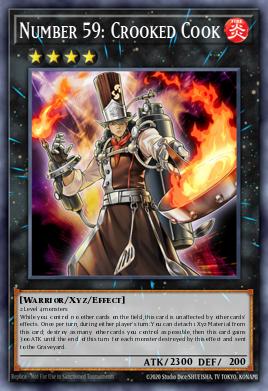
- Number 59: Crooked Cook
- This card can win you games if you are almost completely outmatched.
- This card is a part of a strategy I call “Monster Mine” because unless they can tribute this monster you can deck out your opponent.
- This is the only card that needs Right-Hand Shark to function in any meaningful way.
- Because if you make this card with Right-Hand Shark and you control no other cards on field Number 59: Crooked Cook becomes immune to all card effects and is immune to destruction by battle so if you summon it in defense position your opponent's effects can’t affect this card and they can't destroy it by battle.
- There are 2 ways for your opponent to beat this card however, and those are with piercing battle damage, and tributing it if they have an effect to do so; however these are not so common at this time.
- You can at least get a win Duel 1 of the match off of this card which sets you up very comfortably at a chance of Duel 2 likely going 2nd and a very favorable position if you lose that and go to Duel 3 since you can side in your going first cards (Explained below)
Side Deck and Siding (Change’s with meta):
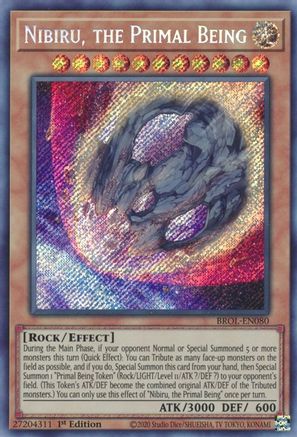
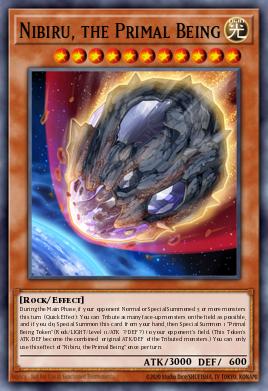
- Nibiru, the Primal Being
- Do I need to explain this card?
- Honestly I dont side this in much at all but if you need it it's there, I could see replacing this card with Droll & Lock Bird, Dimensional Barrier, or any other hand trap that you would prefer.
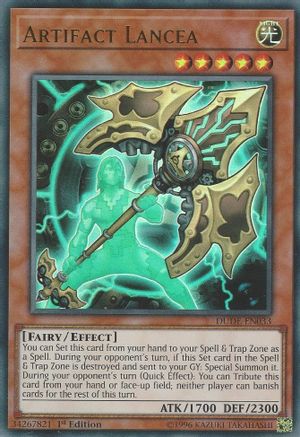
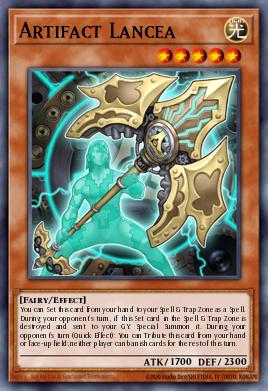
- Artifact Lancea
- This should be replaced with whatever meta relevant hand trap that people are putting in decks.
- This is kinda in a similar situation to Nibiru, the Primal Being and would replace it in a similar way if needed.
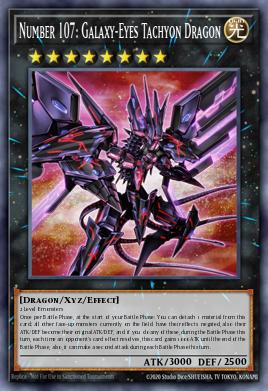
- Number 107: Galaxy-Eyes Tachyon Dragon
- You side this in over Number C104: Umbral Horror Masquerade and summon it the same way.
- I recently put this in because it seems to be the strongest card other than Number C104: Umbral Horror Masquerade to summon off of CXyz N.As.Ch. Knight if you need something to deal with effects in the battle phase I don't see why you wouldn't summon it.
- It doesn't stop anything you have since you don't really activate effects in the battle phase at all and can attack twice.
- Just don't expect to have to use it much.
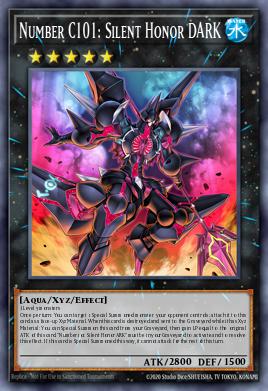
- Number C101: Silent Honor DARK
- You side this in over Number C104: Umbral Horror Masquerade and summon it the same way.
- Side this card if you are going 2nd because it can be more impactful and you can summon it more often than Number C104: Umbral Horror Masquerade.
- It's a water so you can summon it the same turn you use Abyss Shark however its effect isn't the strongest.
- You only side them in if you think you can resolve the effect easily and want the option to make a bigger monster.
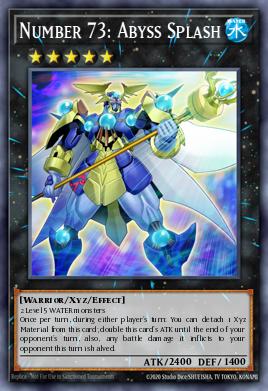
- Number 73: Abyss Splash
- This card can be sided in over any non important monster for the matchup.
- This card only exists in the side deck to attack over large “Towers” monsters, that's it.
- Do not side in unless you cannot attack over a 3000+ attack monster protection!
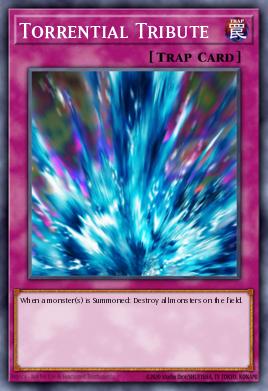
- Torrential Tribute
- Only side this in if you are going first it is too slow otherwise!
- If you are going first and side this, replace Gameciel, the Sea Turtle Kaiju with this card since it is most useful going second, essentially changing the deck into a way more powerful deck for going first.
- This card is still really strong and is a NOPT and drawing multiple is generally fine because of how oppressive it can be.
- The deck doesn't really care that much about you destroying your field because of Number 4: Stealth Kragen and other cards that interact with your grave.
- A good way to think about this card is that if you have used up all of your interactions already and your opponent still has another combo you should use this to destroy the monsters and hopefully stop them from doing anything impactful which should give you the ability to get total control of the game on your next turn.
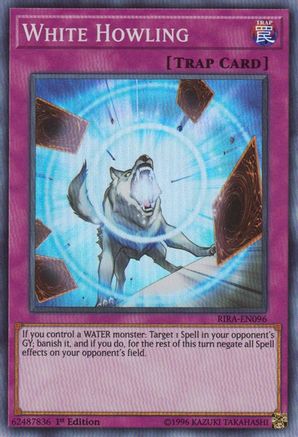
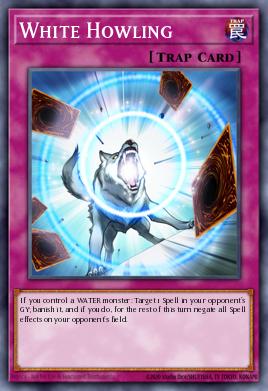
- White Howling
- Only side this in if you are going first it is too slow otherwise!
- This card is why you don't have any spell and trap removal, because it can counter Mystic Mine and other spell based decks (like Sky Strikers) essentially stopping their turn!
- This is the first card I side into the deck because if you negate their first spell with a toad and choose not to set it but instead let it go to grave you can turn off every spell for the turn!
- If you are going first and side this, replace Gameciel, the Sea Turtle Kaiju with this card since it is most useful going second, essentially changing the deck into a way more powerful deck for going first.
- Notice this is the only card listed with 2 blue sections.
Extra tips for side decking:
- Anytime: You generally don't side deck much because if you win the first duel of the match you really don't want to change anything out since you are likely to go second in the second duel and you have the best cards for most matches however if Nibiru, the Primal Being or Artifact Lancea (or whatever anti-meta handtrap) would more impactful than Gameciel, the Sea Turtle Kaiju side them in. However if you are going for “Monster Mine” you might want to keep in Gameciel, the Sea Turtle Kaiju.
- Going First: When you are choosing cards to side out of your main deck for your going first traps like White Howling, Torrential Tribute, or any trap (like Dimensional Barrier if you choose to run it) I would say you have 6 Cards you can take out comfortably for them.
- Those would be your 3 copies of Gameciel, the Sea Turtle Kaiju and all of your 1 of monsters since they are not as necessary such as White Stingray, Rock Scales, and Right-Hand Shark.
- However if you need to keep Right-Hand Shark for Number 59: Crooked Cook then just drop one or both of Superancient Deepsea King Coelacanth because even though it is a powerful card it is very situational and you don't ever really want to draw both so that is by no means a bad decision.
- Going Second: You can follow the same logic stated for “Anytime” but I would advise looking at the XYZ monsters in the side deck and seeing if any would be better for your duel.
- Those would be Number 107: Galaxy-Eyes Tachyon Dragon, Number C101: Silent Honor DARK, or Number 73: Abyss Splash
Combos:
- Stealth Kragen Spawn, Stealth Kragen Spawn
- If you control multiple Stealth Kragen Spawn and a Number 4: Stealth Kragen, each Stealth Kragen Spawn you control can target a monster your opponent controls and you can destroy it.
- Number 59: Crooked Cook, Right-Hand Shark
- “Monster Mine” is a complete backup strategy that you can go for if all else fails but even if you have used more cards than your opponent you have the ability to shuffle in up to 18 cards from your grave into the deck by discarding Lifeless Leaffish or Silent Sea Nettle when your hand is full and can use their effects in grave to add cards back into your deck if needed.
- Buzzsaw Shark, White Mirror, Silent Angler
- If you have both a Buzzsaw Shark and White Mirror in your hand if you can resolve Buzzsaw Shark’s effect and you summon a Silent Angler to make a Bahamut Shark and detach Silent Angler for its effect you can then summon it with White Mirror then add another to hand giving you the materials for 2 XYZ monsters and if you remember most of the time that is all you need.
Notes:
- I would say that the side deck is the part that can be changed the most up to your preferences. If you need more than just White Howling to deal with spells and traps don’t be afraid to put cards that have spell and trap removal in the side.
- You are set up to compete well in a Skill Drain matchup because you have cards like Gameciel, the Sea Turtle Kaiju who can remove any monster your opponent has, Superancient Deepsea King Coelacanth who is just big, same with some of your XYZ monsters, and if it seems like a good idea you can make Number 59: Crooked Cook and just sit behind them if it's before your opponent uses Skill Drain.
- Since you are playing control and piece by piece working through your opponents cards you will eventually come out on top because you recycle cards better and need less specific resources to make more impactful monsters since you just want to make XYZ and you can recycle every water monster in your deck from the GY into either your deck, ED, or hand.
- Ok time to talk about the whale in the room (get it) why don't I run Beautunaful Princess? Because it is garbage in this deck if its effect gets negated and you lose your normal summon and you are left without a monster for you to use your other monsters summon effects from hand and if rescue rabbit is not a good card this card is not a good card and if your opponent just has one Ash Blossom & Joyous Spring it will shut off your turn 90% of the time it is also way overpriced for a card that is so vulnerable. It is a card that makes your deck worse.
- Lantern Shark is not played either but it's because any other card you draw could either be a stronger starter or something you can special summon from hand that essentially does the same thing it does but safer from effect negation and if you read the other starters you will see why they have more versatility.
- XYZ Remora no not good you need all of your materials, again a bad card.
Main Deck (43 Card Deck)


Extra Deck

Side Deck
Deck Breakdown
Other Decks on ygoprodeck.com
Login to join the YGOPRODeck discussion!
0 reactions
 Cool
0
Cool
0
 Funny
0
Funny
0
 Angry
0
Angry
0
 Sad
0
Sad
0