🃏 Act 1: Setting up the Maze (Turn 1 Setup)<!--TgQPHd|||[]-->
When you go first, your sole goal is to thin your deck and place your elements into your backrow as continuous cards to build your defense line.<!--TgQPHd|||[]-->
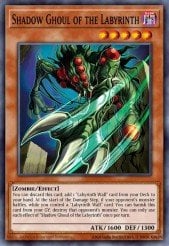
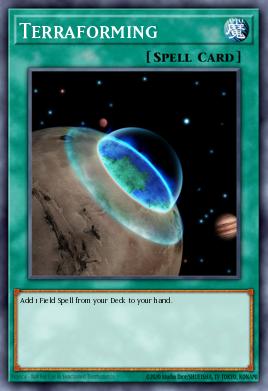
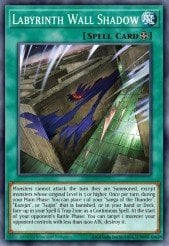
- The Field Search:<!--TgQPHd|||[]--> You discard Shadow Ghoul of the Labyrinth<!--TgQPHd|||[]--> from your hand to instantly find and activate your master field spell, Labyrinth Wall Shadow<!--TgQPHd|||[]-->.<!--TgQPHd|||[]--><!--TgQPHd|||[]-->
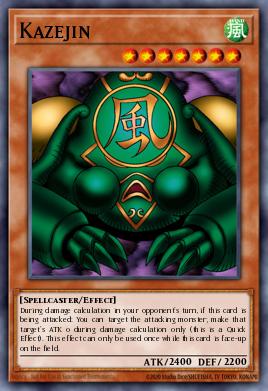
- The Backrow Placements:<!--TgQPHd|||[]--> You use the field spell's effect to place Sanga of the Thunder<!--TgQPHd|||[]--> from your deck face-up into your Spell/Trap zone as a continuous spell. Next, you Normal Summon Labyrinth Heavy Tank<!--TgQPHd|||[]--> for free without a tribute, utilizing his effect to place Kazejin<!--TgQPHd|||[]--> out of your deck straight into your backrow as your second continuous spell.<!--TgQPHd|||[]--><!--TgQPHd|||[]-->
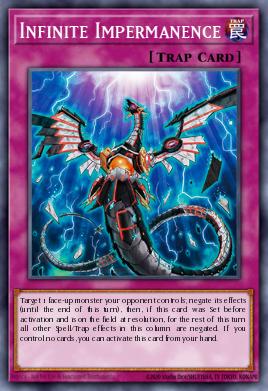
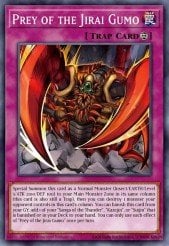
- Setting the Traps:<!--TgQPHd|||[]--> You set Prey of the Jirai Gumo<!--TgQPHd|||[]--> or Infinite Impermanence<!--TgQPHd|||[]--> face-down and pass the turn. If your opponent tries to move, you flip Jirai Gumo<!--TgQPHd|||[]-->, which special summons itself as a Level 5 monster body to protect your field.<!--TgQPHd|||[]--><!--TgQPHd|||[]-->
<!--TgQPHd|||[]-->
<!--TgQPHd|||[]-->
🛡️ Act 2: Paralyzing the Backrow (The Opponent's Turn Control)<!--TgQPHd|||[]-->
The second your opponent attempts to play a powerful card to build their field, you execute a contact fusion directly out of your backrow.<!--TgQPHd|||[]-->
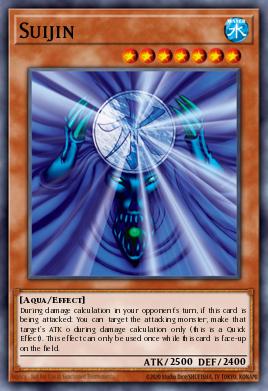
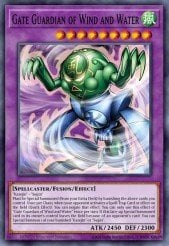
- The Spell Shield:<!--TgQPHd|||[]--> You banish your continuous backrow Kazejin<!--TgQPHd|||[]--> and Suijin<!--TgQPHd|||[]--> straight to the graveyard to instantly Special Summon Gate Guardian of Wind and Water<!--TgQPHd|||[]--> from your Extra Deck<!--TgQPHd|||[]--> for free.<!--TgQPHd|||[]--><!--TgQPHd|||[]-->
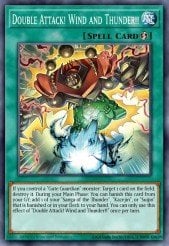
- The Double Negate:<!--TgQPHd|||[]--> Every single time your opponent tries to fire off a critical spell or trap card to start a combo, your monster flashes to negate and destroy their card completely<!--TgQPHd|||[]-->. He can do this twice in a single turn, completely starving them of resources before they can touch your life points.<!--TgQPHd|||[]--><!--TgQPHd|||[]-->
<!--TgQPHd|||[]-->
<!--TgQPHd|||[]-->
🏆 Act 3: The Combined Apocalypse (Turn 2 Win Condition)<!--TgQPHd|||[]-->
Once your opponent's turn ends with a frozen field and depleted cards, you untap for your next turn to summon your ultimate character boss.<!--TgQPHd|||[]-->
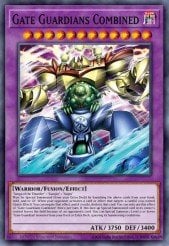
- Gate Guardians Combined:<!--TgQPHd|||[]--> You banish your final remaining element pieces from your field or your graveyard to summon your ultimate 3750 ATK titan, Gate Guardians Combined<!--TgQPHd|||[]-->. He can completely negate any card effect your opponent tries to target your field with up to three times per turn for free!<!--TgQPHd|||[]--><!--TgQPHd|||[]-->
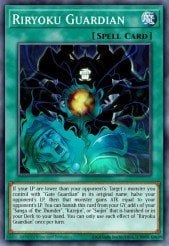
- The Riryoku Guardian Execution:<!--TgQPHd|||[]--> You activate the spell Riryoku Guardian<!--TgQPHd|||[]-->. It permanently halves your opponent's Life Points out of nowhere and adds all that stolen power straight to your titan's attack, rocketing him past 7000+ ATK<!--TgQPHd|||[]--> for an immediate, game-ending direct assault.<!--TgQPHd|||[]--><!--TgQPHd|||[]-->
<!--TgQPHd|||[]-->
<!--TgQPHd|||[]-->
🛸 Act 4: Shuffling the Monsters (How to use the Extra Deck)<!--TgQPHd|||[]-->
Your 15-Card Extra Deck<!--TgQPHd|||[]--> contains smaller, hyper-specific 2-element variants and powerful Level 7 Xyz monsters to solve different board problems:<!--TgQPHd|||[]-->
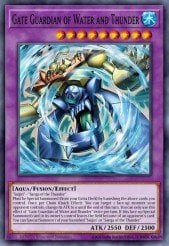
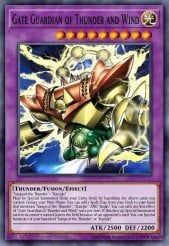
- The Board Sweepers (Thunder and Wind / Water and Thunder):<!--TgQPHd|||[]--> If you don't need spell negation, you contact fuse your other pieces into these variants instead. They let you search for your Double Attack<!--TgQPHd|||[]--> spells from your deck, or permanently reduce an enemy monster's ATK points straight to zero.<!--TgQPHd|||[]--><!--TgQPHd|||[]-->
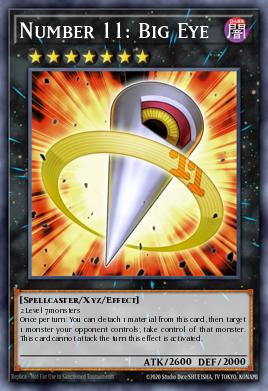
- The Boss Stealer (Number 11: Big Eye):<!--TgQPHd|||[]--> Because your base element pieces are Level 7, if you ever end up with two of them active as monsters on your field at the same time, you can overlay them to Xyz Summon Number 11: Big Eye<!--TgQPHd|||[]-->. Detach a material to permanently target and steal control of one monster your opponent owns.<!--TgQPHd|||[]--><!--TgQPHd|||[]-->
<!--TgQPHd|||[]-->
<!--TgQPHd|||[]-->
🛡️ Act 5: Adjusting the Safe Zones (How to use the Side Board)<!--TgQPHd|||[]-->
Between rounds, you pull cards out of your 15-Card Side Board<!--TgQPHd|||[]--> to protect your graveyard and bypass your opponent's specific tournament counter-strategies:<!--TgQPHd|||[]-->
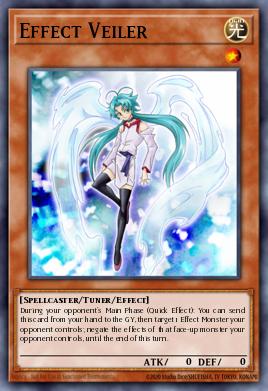
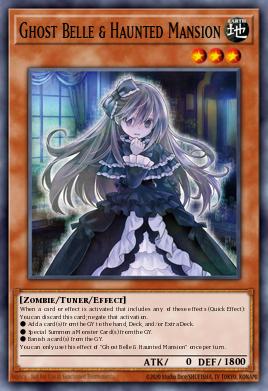
- The Graveyard Insurance (Ghost Belle & Haunted Mansion):<!--TgQPHd|||[]--> Competitors will try to use cards like Called by the Grave<!--TgQPHd|||[]--> to banish Sanga, Kazejin, or Suijin<!--TgQPHd|||[]--> out of your graveyard so you can't reuse them. Dropping Ghost Belle & Haunted Mansion<!--TgQPHd|||[]--> from your hand completely negates those cards, keeping your fusion materials entirely safe.<!--TgQPHd|||[]--><!--TgQPHd|||[]-->
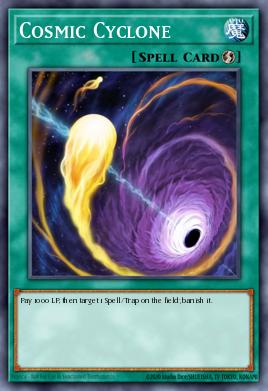
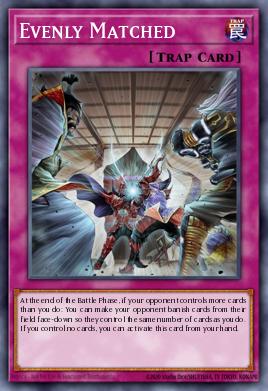
- The Board Eraser (Evenly Matched & Cosmic Cyclone):<!--TgQPHd|||[]--> If you are forced to go second in Game 2, drop Evenly Matched<!--TgQPHd|||[]--> from your hand at the end of the battle phase to force them to banish almost their entire field face-down, or use Cosmic Cyclone<!--TgQPHd|||[]--> to banish core spells (like Toon Kingdom<!--TgQPHd|||[]-->) face-up out of the game before they can benefit from them.<!--TgQPHd|||[]--><!--TgQPHd|||[]-->
<!--TgQPHd|||[]-->
 240
240 420
420 510
510 480
480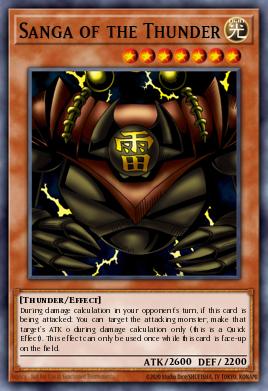






 Cool
0
Cool
0
 Funny
0
Funny
0
 Angry
0
Angry
0
 Sad
0
Sad
0