ARCHETYPES AND DECKBUILDING
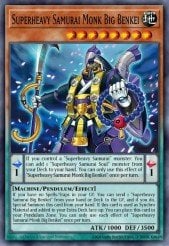
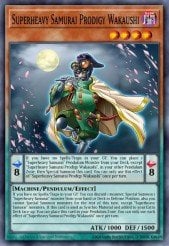
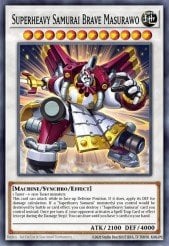
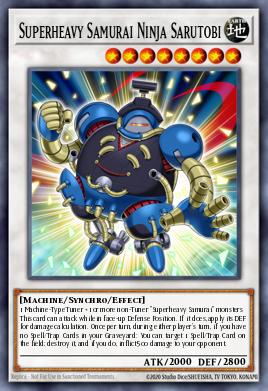
As opposed to the "pure" SHS decks, Blind 2ND SHS reduces the cards to an engine. Superheavy Samurai cards in this strategy are focused instead on summoning 1 big Synchro monster and setting up Pendulum scales. They only compose of 10 cards in the Main Deck. In the Extra Deck, Sarutobi and Brave Masurawo are Synchro options that the player can go into.
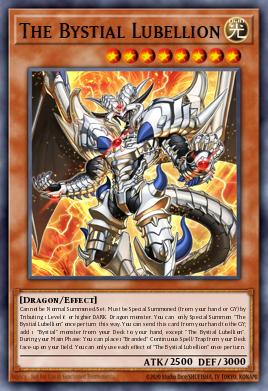
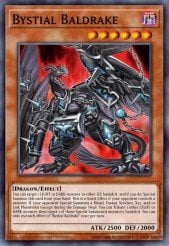
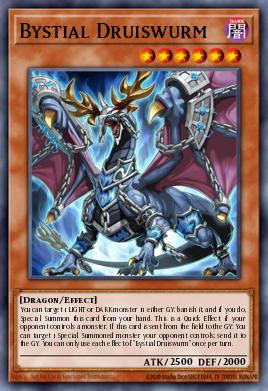
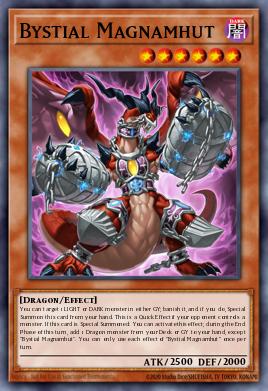
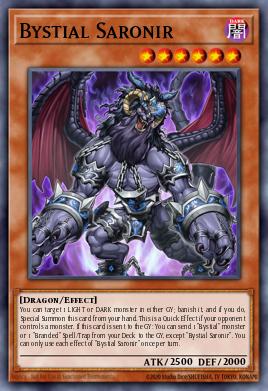
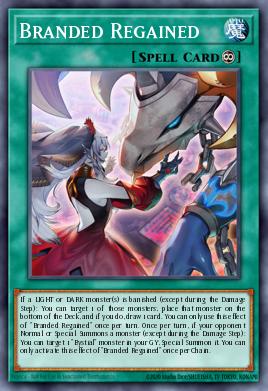
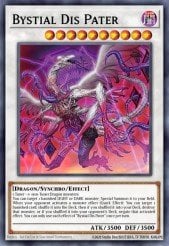
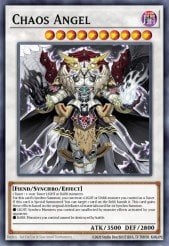
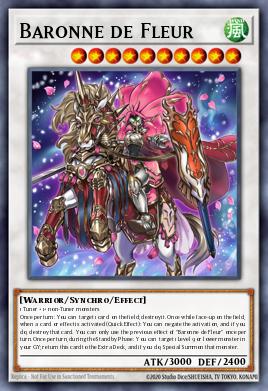
The Bystial cards take up 10 slots in the Main Deck, disrupting the opponent's GY and pressuring their board with their giant 2500ATK bodies. Bystials also offer crucial level 6 and 8 bodies on board to synchro summon with, giving easy access to level 10 Synchros like Baronne and Chaos Angel. If Branded Regained is active on the field, Bystials can put up an intense grindgame with an additional draw and monster reborn that the card offers.
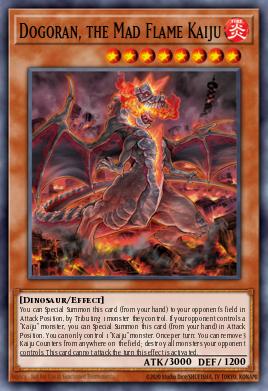
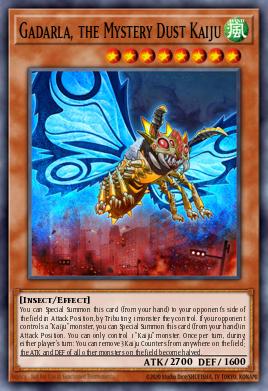
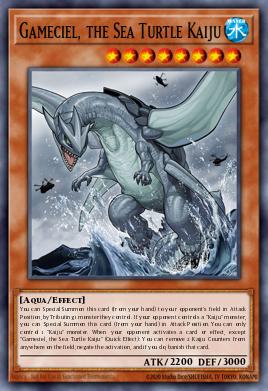
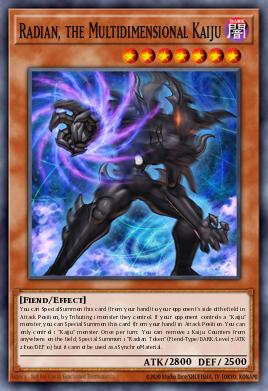
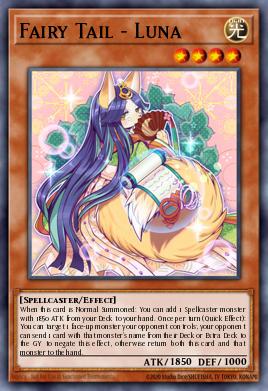
Fairy Tail Luna + Kaijus take up 8 slots in the deck. Kaijus are potent board breakers, tributing key monsters on your opponent's field so further plays can be made. Luna can bounce back your Kaijus on your opponent's field back to your hand, allowing you to Kaiju again! As a little bonus synergy, Luna + level 6 Bystial makes a Chaos Angel complete with his effect immunity and battlefield-wide protection.
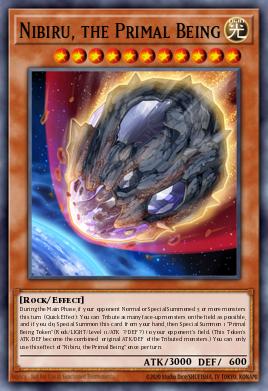
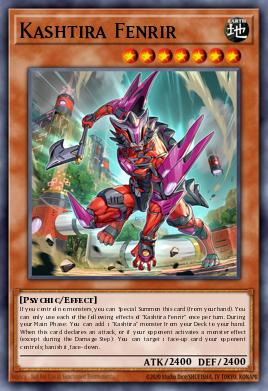
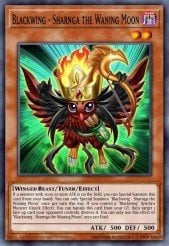
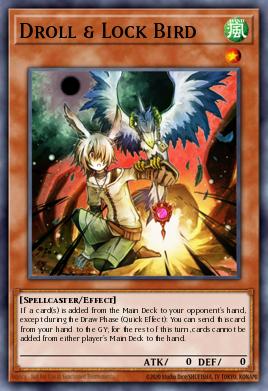
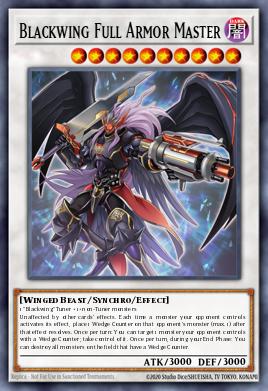
The rest of the deck are staples. Nibiru and Droll are self-explanatory - they are turn ending handtraps. Kashtira Fenrir is an absolutely insane card, it is a big 2400ATK beatstick, it replacing itself since it can search itself and it banishes something on the field facedown. Fenrir can also be pendulum summoned if your Superheavy scales are active! Blackwing Sharnga is a recently released card from Monstrous Revenge, and it is a free to summon level 2 tuner if there is a monster with 2000ATK or more on the field. This means that this card will almost always be free to summon in the deck, granting you access to synchro plays. It can also summon Full Armor Master, an unaffected boss monster!
COMBOS AND GAMEPLAN
There are no main combos in this deck. The biggest "combo" this deck has is turboing out a level 10 synchro (probably Baronne) with the Superheavy Samurai cards.
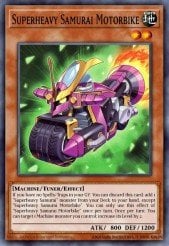
Superheavy Samurai Motorbike = Level 10 Synchro + Pendulum Scales 1->8.
- Discard Motorbike and add Wakaushi to your hand.
- Activate Wakaushi in Pendulum Scale. Activate Wakaushi's effect to summon itself from Pendulum Scale, placing Monk Big Benkei as a Pendulum Scale on the field.
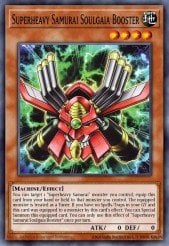
- Activate Monk Big Benkei's effect to search Soulgaia Booster from deck.
- Activate Soulgaia Booster from hand to equip to Wakaushi. Activate Soulgaia Booster's effect to summon itself from the backrow.
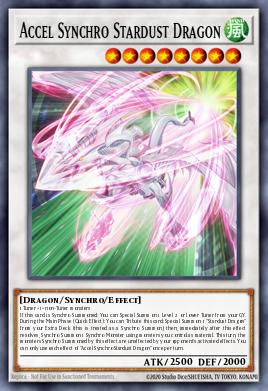
- Synchro summon Accel Stardust Dragon using Wakaushi + Soulgaia Booster. CL1 Accel Stardust Dragon to summon Motorbike from GY, CL2 place Wakaushi on Pendulum Scales.
- Synchro summon your level 10 synchro monster of choice using Accel Stardust Dragon + Motorbike.
Everything else in the strategy is composed of interrupting your opponent at ideal times with handtraps, then getting out the right synchro boss monster to finish them off! This deck's handtraps and staples are designed so you can confidently blind second vs. current popular strategies like Branded, Labrynth and Kashtira.
Even if your opponent manages to survive the OTK and proceed to turn 3, this deck can play a decent grind game. Bystial Magnamhut and Branded Regained recur the Bystial cards. Fairy Tail Luna searches for herself, and Kashtira Fenrir searches for himself as well. Your pendulum scales are set up in the back row as well, giving you free extension next turn. Your field likely has beefy Synchro monsters that are hard to out and have an interruption.
With all this considered, despite being a blind-second OTK deck, Blind 2ND SHS can still play past turn 2 confidently and give a decent grindgame vs. the opponent!
 Cool
0
 Funny
0
 Angry
0
 Sad
0
Sad
0
