
Trap-based decks, and trap cards in general, slowly began to phase their way out of modern Yu-Gi-Oh as the game became faster and faster over the years. The only traps most players even bother running are floodgate effects that just stop their opponent from playing or traps that come with hand effects like “Infinite Impermanence” or “Evenly Matched.” Trap-centric decks have pop-up from time to time, but their stay in the limelight would either end up being short-lived or was built on how many floodgates they could comfortably cram into their 40-card pile. Labrynth is one of the few trap decks to fall outside of either of those categories.
With the deck still topping in major TCG events, and the introduction of its last few support cards into Master Duel right around the corner, now is a good time to look at the deck and see what makes it tick, how to build it, and how to play it. In this multi-part series we’ll be covering the key cards in the archetype worth running, what splashable non-engine cards work well, a few example deck lists, a few combos and setups the deck can do. In part 1 of this Labyrnth deep dive, let’s look exclusively at the in-archetype cards and why they work.
- The Bosses -
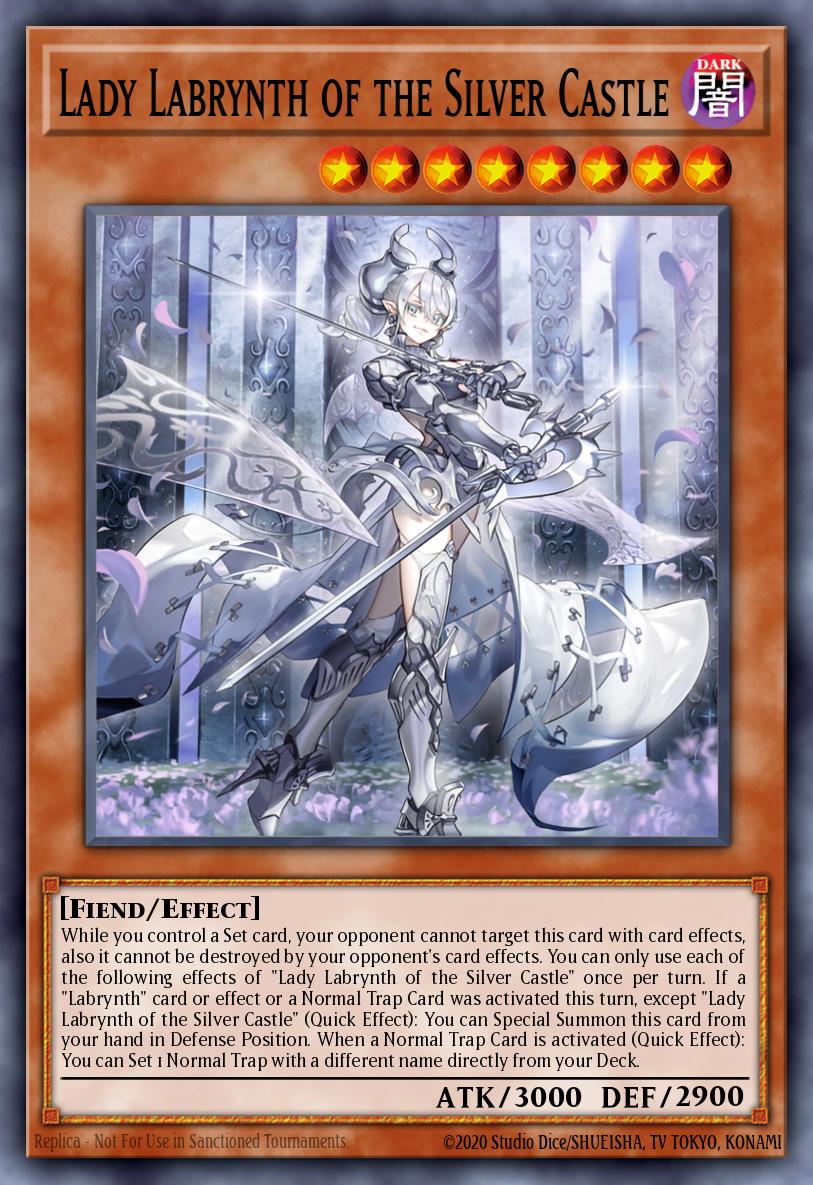
First, let’s talk about the two “boss” monsters in the deck: “Lovely Labrynth of the Silver Castle” and “Lady Labrynth of the Silver Castle.” Both of these monsters are playmakers for Labrynth, but Lady is the deck’s anchor, and what allows it to sustain and grind as effectively as it does. She’s a level 8 fiend with a respectable 3000/2900 spread, and a quick effect that lets her special summon herself from the hand in defense position if a different Labrynth card, effect, or a normal trap card was activated that turn. This effect is very easy to setup as the majority of the deck is typically one or the other.
While on the field, Lady cannot be targeted or destroyed by an opponent’s card effect as long as her owner controls a set card. She also has a quick effect while on the field that lets her once per turn set a normal trap directly from the deck when a normal trap card is activated on the field, as long as the card she sets has a different name from the one activated. A plus to this is that it doesn’t matter whose field the trap card is activated on, meaning she can plus off an opponent’s trap. Also, since the effect sets directly from the deck, it’s immune to card like “Ash Blossom & Joyous Spring” or “Droll & Lock Bird." A downside is that the effect is a quick effect, meaning her opponent has a chance to respond to her own trap card activations before she can. Her effect MUST immediately follow the trap card activation, so she can miss timing if interrupted. Lady is still incredibly strong despite this little setback. Her ratios tend to vary between 2-3 depending on the build. You don’t always want to open with her, but it’s not the end of the world if you do.
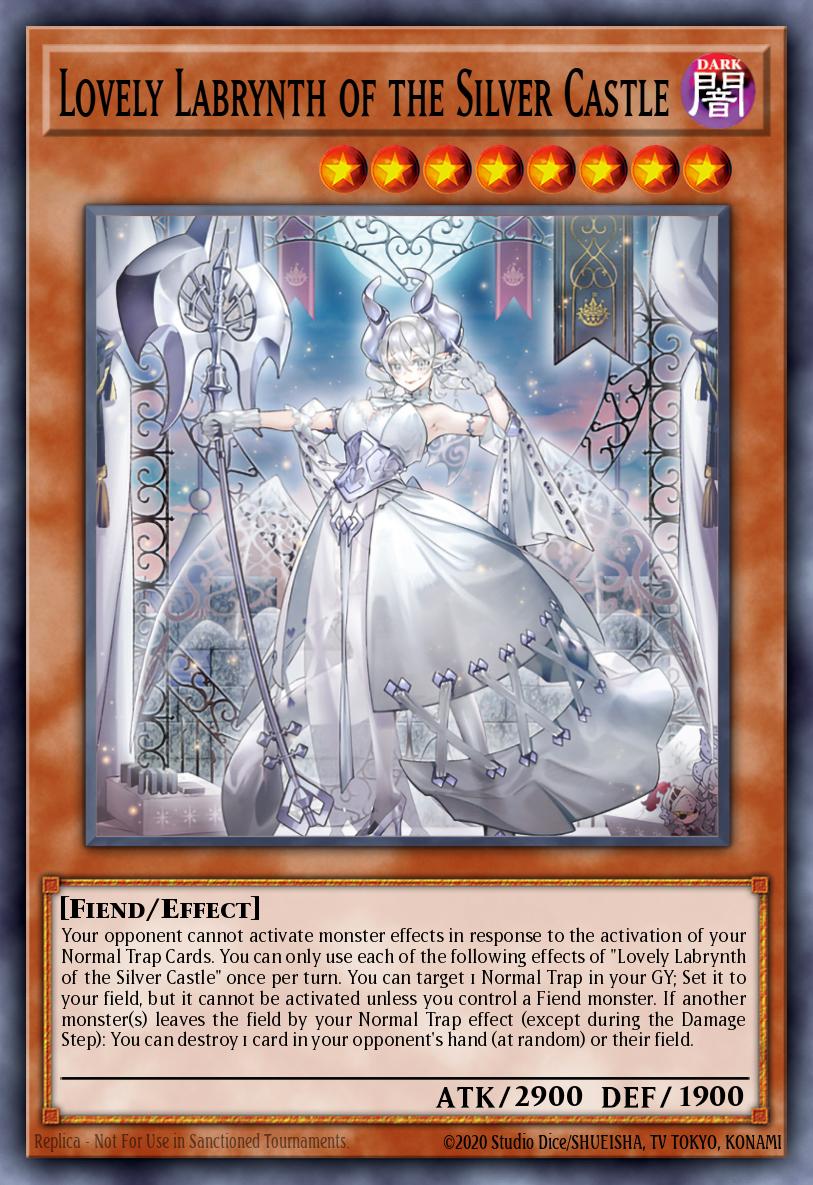
Lovely, the other boss monster, also has a respectable stat spread of 2900/1900, and is overloaded with effects too. While she’s on the field, her opponent cannot respond to her owner’s normal trap card activations with monster effects (so no Baronne negates to worry about). She can also, once per turn, set a normal trap from her owner’s graveyard to their field. This effect also lets the deck run a lot of 1-of situational traps, like “Dimensional Barrier,” since she can just set them back to the field each turn once she’s out.
Her last effect lets her, once per turn, either destroy an opponent’s card, non-targeting, on the field or at random in their hand whenever a monster leaves the field by her owner’s normal trap card or effect. Lovely is typically ran at 1, since she lacks a built in Special Summon effect. You don’t want her in your hand, you want to dig her out with one of the archetype’s trap cards that yoink her from the deck onto the field.
- The Furniture -
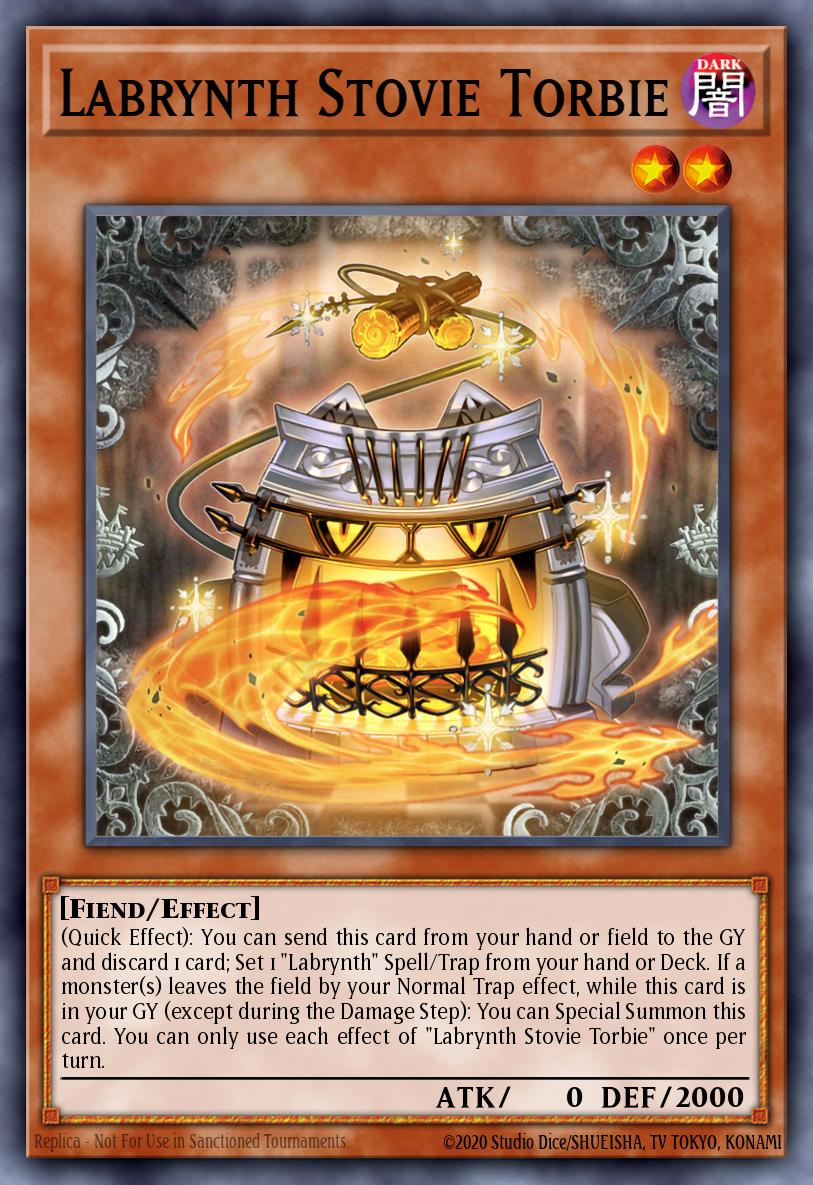
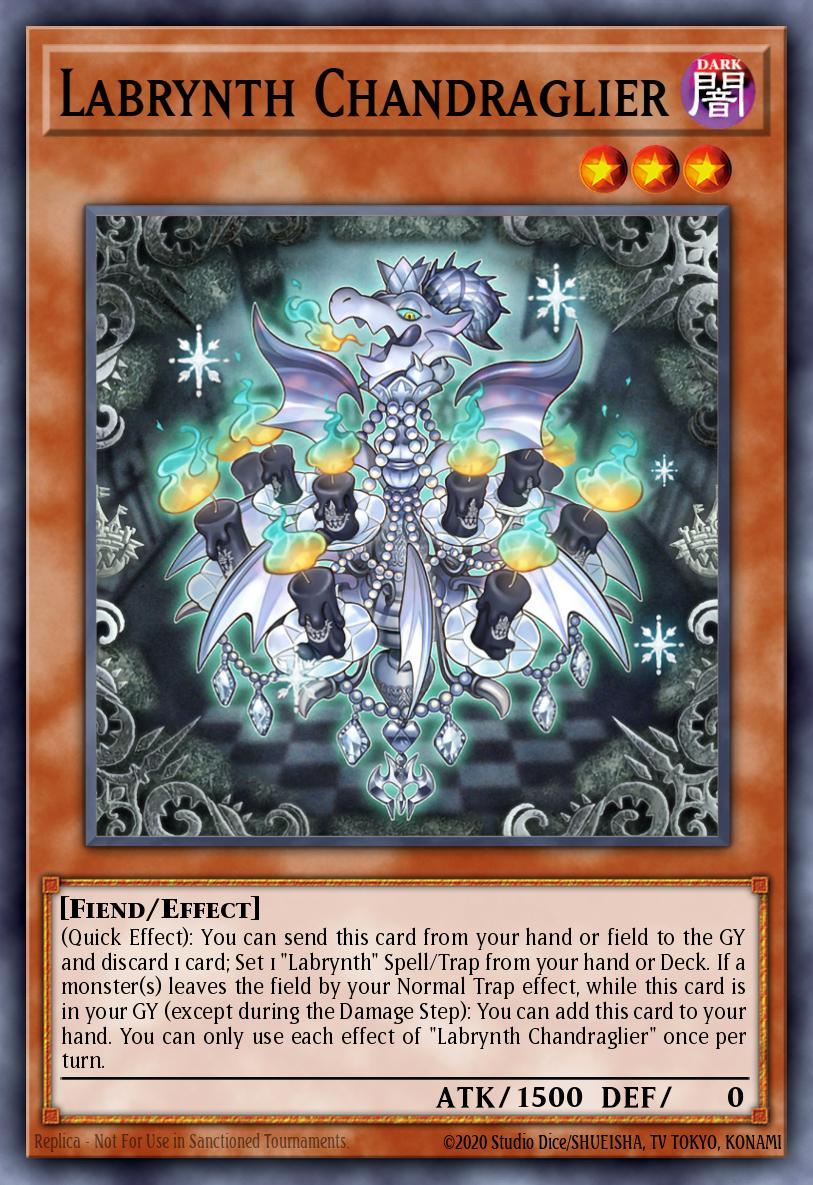
Next, let’s talk about what are commonly referred to as the “furniture cards:” " Labrynth Stovie Torbie," "Labrynth Chandraglier," and "Labrynth Cooclock." Stovie and Chandraglier are effectively the same card with slight variations in what they do. Both cards have quick effects that allow them to send themselves from the hand or field to the graveyard and discard another card to set a Labrynth spell or trap directly from the deck. These two are very helpful when going second, and allow Labrynth to setup on their opponent’s turn by searching either of the pivotal trap cards the deck needs to really get going. This effect can also help when going first if the player doesn’t open either of the trap cards. If they do, then Stovie and Chandraglier can be used to grab the field spell, which adds an extra layer of interruption against your opponent on their turn.
On top of being able to search, both cards also have recursion effects with identical triggers. Once-per turn, when a normal trap card effect causes a monster to leave the field, Stovie special summons itself and Chandraglier adds itself back to hand.
In earlier builds of the deck, Chandraglier was the preferred searcher, as Stovie summoning itself back risked opening up a field of just itself and Lady to getting smacked by “Lava Golem;” Stovie being a level 2 means the deck was accidentally designed with very easy ways to get out “Chaos Angel” and remove even more things from the opponent’s board when going second.
The effects on these two are not “either/or,” so you can discard them to search a trap and then add them back in the same turn, which is actually kind of crucial for a specific going second combo we’ll get into later.
The ratios for these two can be weird. Some decks that focus more on trap-heavy packages and floodgates tend to ignore them or keep them at a low count, but decks focused entirely on getting Lady/Lovely out will want to run roughly 5-6 between the two.
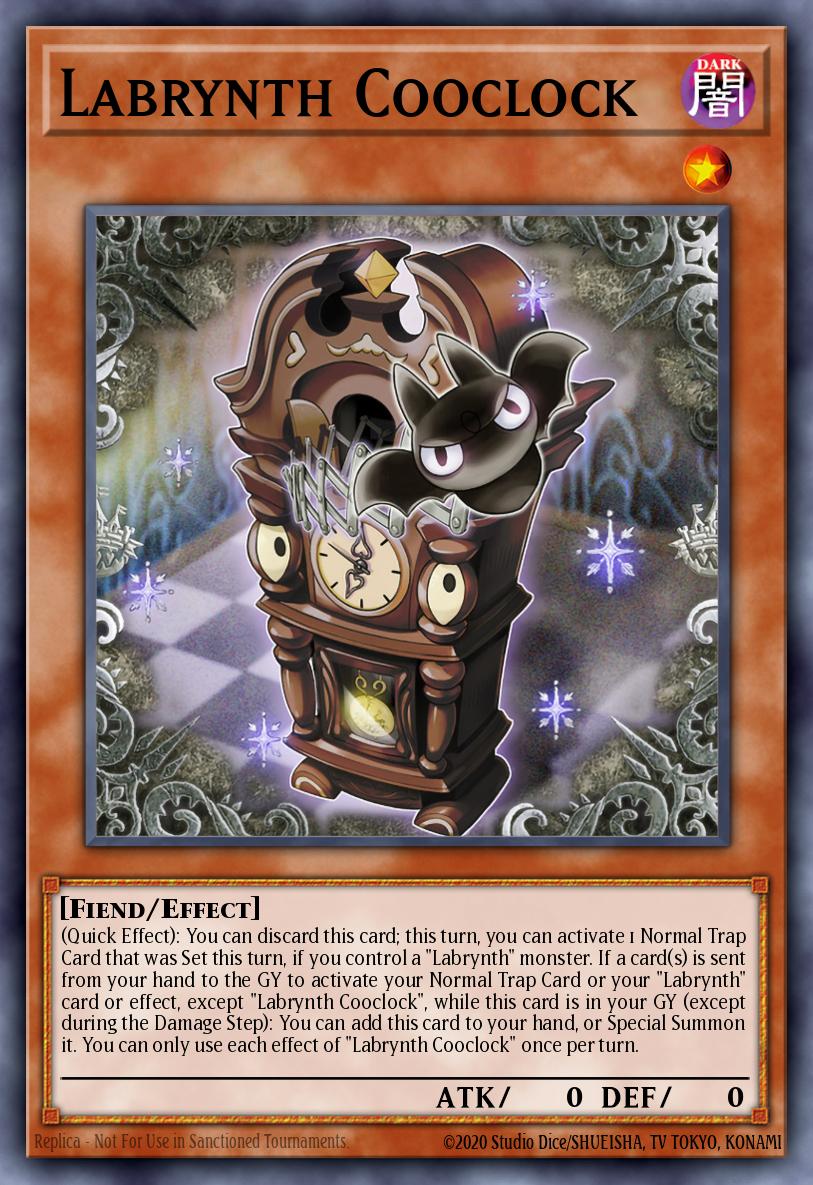
Cooclock is the other furniture card worth bringing up, and it also has a discard quick effect. When discarded, you can activate a normal trap card you set that turn, but only if you control a Labrynth monster. It also has a recursion effect that let you either special summon it or add it back to hand when either a normal trap effect or a Labrynth card effect discards a card for cost. Note that it does have to be a cost, so traps like the Paleozoics will not trigger Cooclock, but “Phoenix Wing Wind Blast,” will. If you’re not sure if something is part of the cost or the effect than just look for the semi-colon. Everything before the semi-colon is the cost, and has to happen when you activate the card, and everything after is the effect that happens when the chain starts to resolve.
Cooclock can be run anywhere from 0-2 depending on player preference. Cooclock on its own can’t do much, but it’s a very powerful combo-piece.
- The Servants -
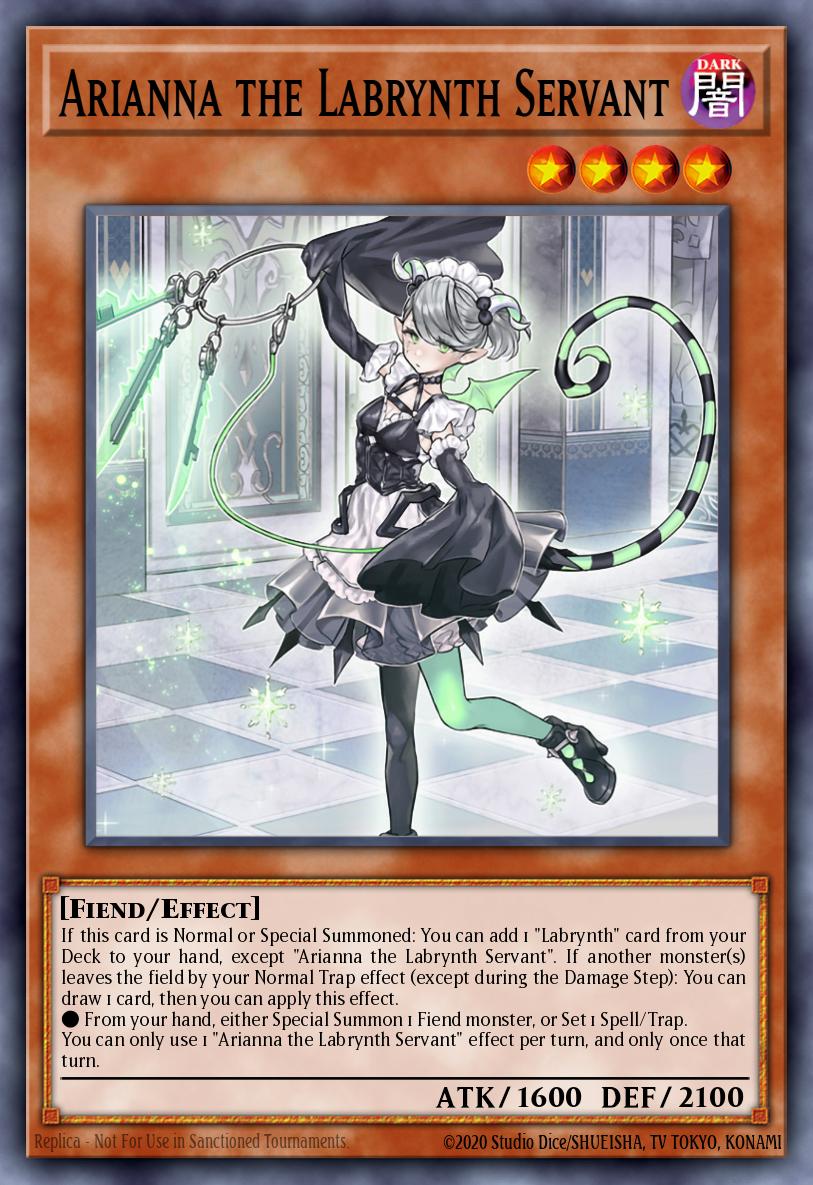
Next, let's move from the furniture to the ones who clean the furniture: "Arianna the Labrynth Servant" and "Ariane the Labrynth Servant." Arianna is the more important of the two. She’s a level 4 1600/2100 that searches any Labrynth card other than herself when she’s normal or special summoned. Arianna is your preferred turn-1 normal summon, and typically the only to-hand search the deck will make all game. She also has an effect that lets you draw 1 card whenever a normal trap effect you control causes a monster to the leave the field, and then after drawing lets you either set a spell or trap or special summon a fiend monster from your hand. Arianna is only able to use one effect per turn.
A lot of decks tend to settle on 2 Arianna, but there’s no problem with running her at 3. More consistency in the deck is always a good thing, and she’s great at baiting your opponent into wasting a “Droll & Lock Bird” since she’s the only "from deck to hand" searcher Labrynth typically runs. Her stats are also very solid for her level. The draw and special summon or set can be crucial at times, and having ways to restock your hand is never a bad thing.
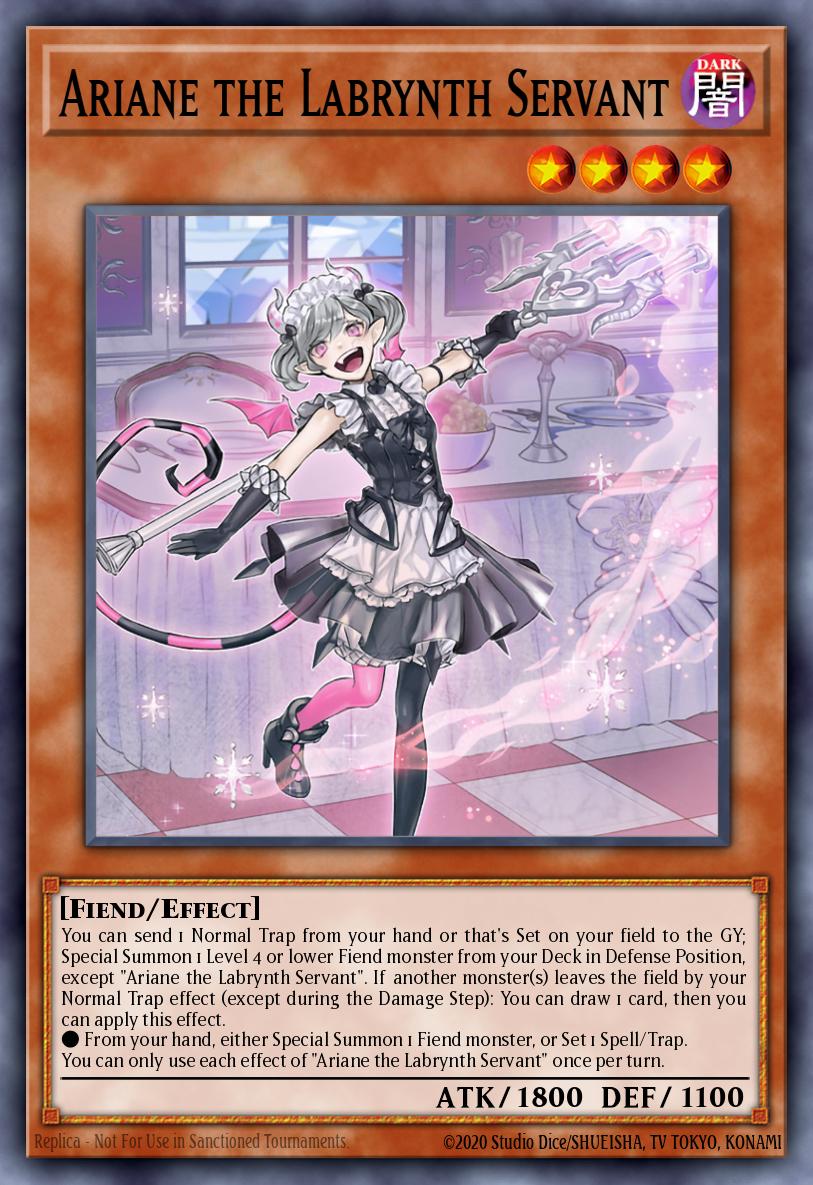
Ariane is a bit more controversial. She has the same secondary draw and special summon/set effect, but she lacks an effect on summon. Instead, she lets her owner either discard a normal trap, or send one from their field, to special summon a level 4 or lower fiend from the deck in defense position.
Ariane is mostly just a combo-piece that acts as another way to search Arianna. Discarding a trap can be risky, since she is open to being hit by Ash Blossom. Most decks avoid using her, but I think she’s worth mentioning as a potential one-of, since she can give you options in a bad hand by just ending on a Bagooska when combined with Arianna. Her effects are also not “either/or,” so you can use both on the turn you summon her, which can give her certain combo lines that Arianna alone doesn’t allow for.
Pretty much every topping TCG deck has avoided her, but she has shown up a few times in the OCG.
- The Backrow -
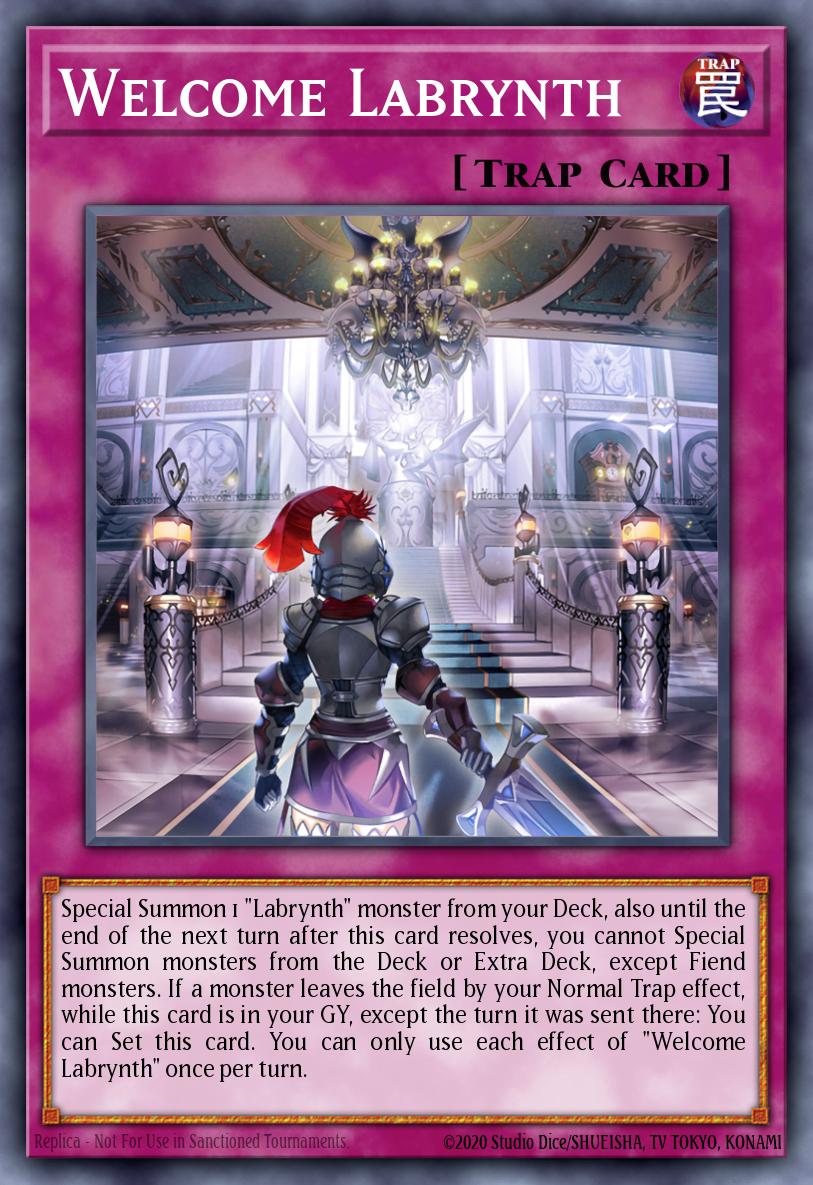
Beaing a trap-based deck, Labrynth has a lot of cards that go in the backrow, but the two main ones worth talking about are “Welcome Labrynth” and “Big Welcome Labrynth.”
Welcome allows you to special summon a Labrynth monster directly from the deck, but locks you into only being able to special summon fiend monsters from your deck and extra deck for the rest of the turn. That is a small price to pay since you rarely summon anything else. It also has an effect in the graveyard that lets it re-set itself to the field, except the turn it was sent to grave, when a normal trap effect you control causes a monster to leave the field. Each effect can only be used once per-turn. Keep in mind that this means if you have a “Welcome Labrynth” sitting in grave already, you can activate one on the field and still potentially recur the first one.
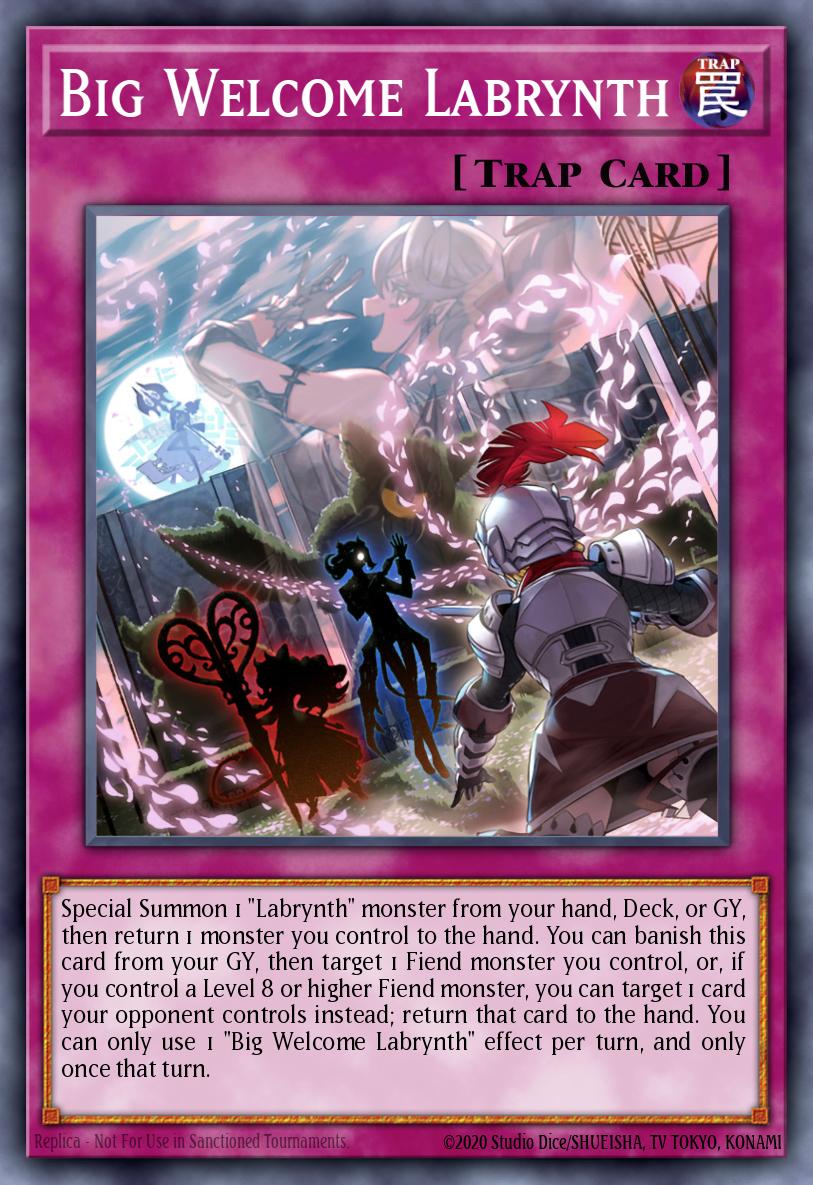
“Big Welcome Labrynth” is a big, welcome improvement over the original. Big Welcome can summon a Labrynth monster not only from the deck, but also the hand or graveyard. Instead of locking you into fiends, you have to return a monster you control to the hand. It sounds like a negative, but it rarely is. This card’s most common search on an empty field is going to be Lady, who can just summon herself back from hand in the same turn. If you already have a monster on your board you can go into Lovely for a field or hand pop, or one of the servants to either search a specific card or to draw and special summon from hand. Big Welcome can also trigger either Stovie or Chandraglier to special summon or add to hand if they’re in the graveyard.
Big Welcome also has an effect in the graveyard that allows you to target a fiend you control and return it to hand, but if you control a level 8 or higher fiend at activation, you can target a card your opponent controls instead. It’s very easy to setup trap effect, that gives yet another form of interruption, and can add back your furniture cards. You can only use one effect of Big Welcome each turn though, which can makes it important to know when to use the one already in your grave or the one you may have set on your field. Both Welcome traps should be run at 3.
Lastly, let’s talk about the field spell: “Labrynth Labyrinth.”
- The Silver Castle -
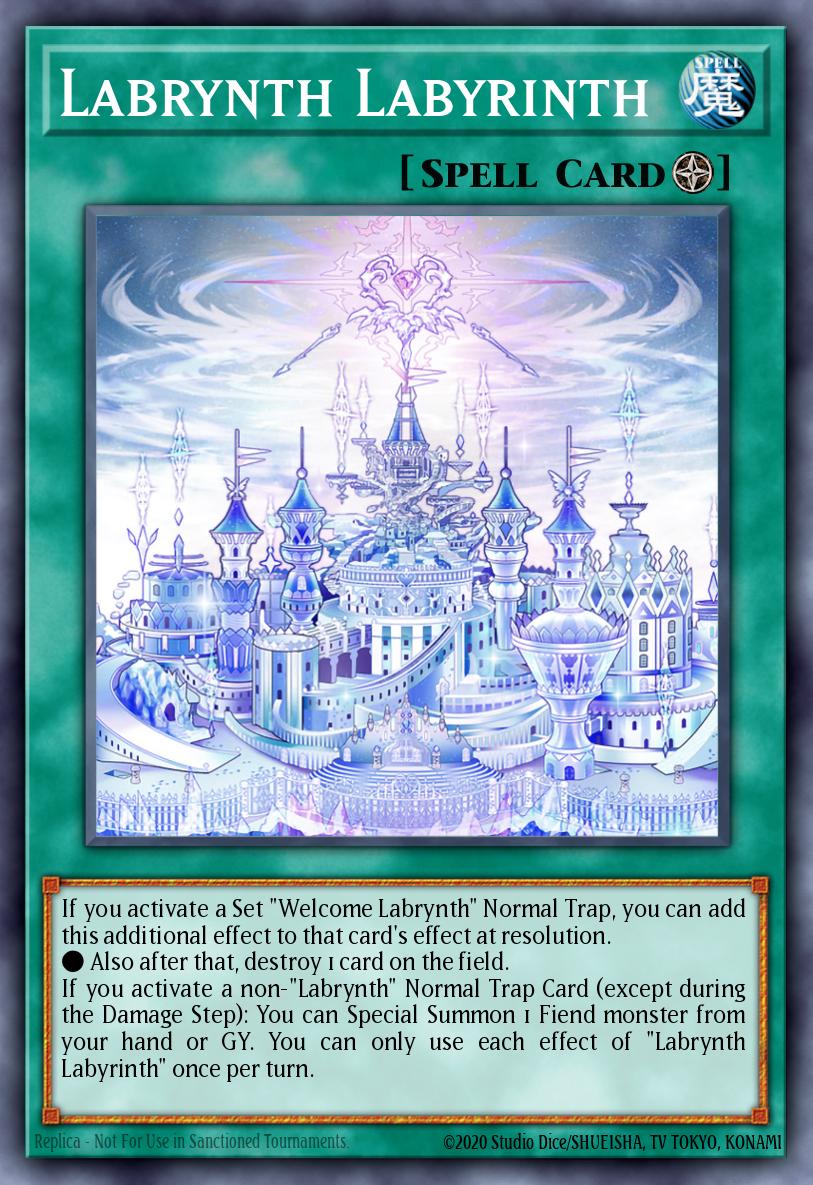
It has no effect on activation, and instead adds extra effects to normal trap cards you control. If a “Welcome Labrynth” normal trap is activated it can gain the effect to non-targeting destroy one card on the field.
If a non-Labrynth normal trap is activated, you can special summon a fiend monster from either your hand or graveyard.
Labyrinth is very much a win-more card, but its usefulness can’t really be argued against. Adding a non-targeting destruction effect to both Welcome and Big Welcome can be huge against certain decks, and the ability to bring fiends back from the grave allows for some very specific shenanigans depending on what cards you tech into your build. It’s also just an effective way to bring back Lovely or a servant, as they’re all very susceptible to destruction.
Some decks completely forego Labyrinth, but it's fine as a 1-of.
That does it for this article’s deep dive into the in-archetype cards when building Labrynth. Next time we’ll look at the various splash options the deck can use and give a few example deck lists for the various playstyles the deck has.


