
Deck Primer
Hi, I am Absolute Garbage who got a top cut in the recent July CSM: https://ygoprodeck.com/absolute-garbages-paleozoic-spright-july-2022-csm-top-8/
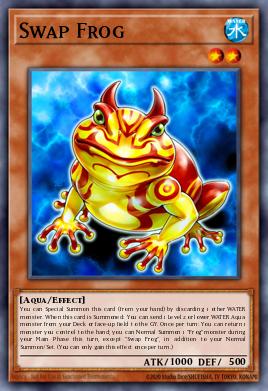
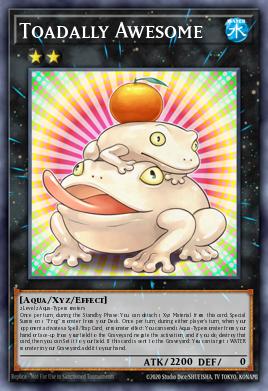
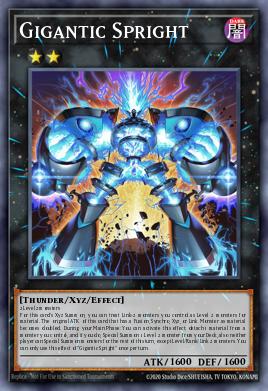
I have always loved Paleozoic Frog as a deck and over the years have always been trying to revive the strategy. The problem with Paleozoic Frog was that its always too slow, and cannot consistently set up its board during turn 1. Not anymore; with Gigantic Spright and Spright Elf, the deck is able to set up a Todally Awesome with just 1 Swap Frog or Deep Sea Diva.
The CSM decklist was one attempt to bring back Paleo Frog. Despite its success, I felt that it was more a control centered spright variant as compared to a paleozoic frog deck. So today I bring to you, a new paleozoic frog deck that utilizes spright (extra deck) monsters, but not the other way around.
(Control F to find each section)
Simple decks are easy to play. If you are a beginner to the game, or if you want to enjoy a game of Yugioh without too much calculation, this is the deck for you.
While not technically meta, I can ensure you this deck has the ability to face against recent meta decks like Tearalament and Spright.
Against Spright
- Going first, this deck can shut down normal Spright hands with a simple Canadia/Dinomischus, and any other extenders they have with Toadally Awesome and other trap cards.
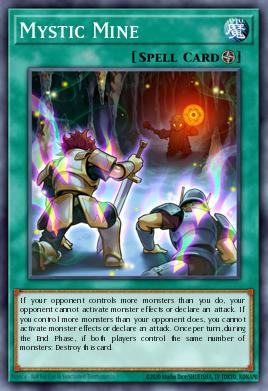
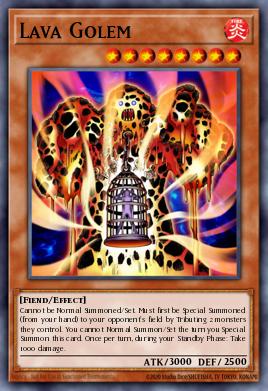
- Going second, this deck can break a full Spright board with Mystic Mine/Evenly Match/Lava Golem.
Against Tearalament
- Tear is particularly weak against Mystic Mine, so going first or second, you can kill them with Mystic Mine.
- Going first, this deck main decks 3 Trap Trick and 2 Dimensional Barrier, which you can utilize with your other trap cards and Toadally Awesome.
I have tested this deck against different meta decks, and it has so far proven itself to at least be described as a "competitive rogue deck".
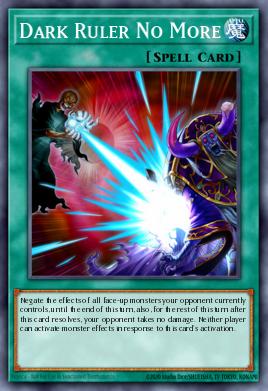
This deck does not lose to a Dark Ruler No More, nor does it lose to Mystic Mine, nor does it lose to Skill Drain and other Shenanigans. Your board is Traps + Monster Negates.
Ever felt that satisfaction when you Mystic Mine your opponent and they cannot do anything about it? Ever feel frustrated playing Spright when your opponent dark rulered your entire board? Ever felt nice that your opponent surrendered after eating 3 of your backrows? Then oh boy is this deck for you. We play yugioh because it makes us happy, and I can assure you, this deck will definitely bring a wholesome smile to your face.

(Me after activating the 3rd Mystic Mine in a fun, interactive game)
Win conditions are important, knowing what they are help you deviate towards different strategies in any given game.
This is what you usually follow going first. The basic premise is that you want to set up a board with (possibly multiple) Toadally Awesome (or something like Spright Elf + Toadally Awesome) and traps to stop your opponent from playing. If you achieved that, you probably have a lot of materials in the coming turns, which you should utilize to summon borrelsword and otk your opponent.
This is what you usually follow going second. The majority of decks don't main deck s/t removal, meaning that this is an effective winning strategy in the first game.
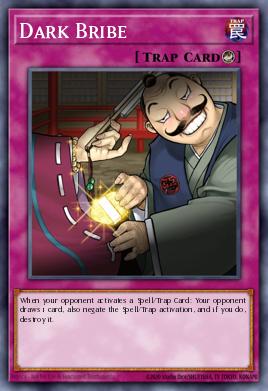
In the games where side decks are involved, you can run solemn judgement and dark bribe to ensure the mystic mine stays. In the case that your opponent has 3 or more monsters on the board after your mystic mine resolves, you can also summon Toadally Awesome (nothing else) to prevent any s/t removals (remember, Toadally Awesome can tribute itself to negate anything. So if you need to, you can activate one of your own traps and negate it).
Often, you will deviate the win strategy given different situations. Sometimes, you should stall with Mystic Mine until you have enough resources to beat your opponent without the Mystic Mine, so you eventually get rid of the Mystic Mine (either through its own effect, or setting another Mystic Mine). Sometimes, you just don't have enough to beat your opponent via normal resources, so you use Mystic Mine. When you have Mystic Mine on the board, always make sure you have a way to continue the game if the opponent outs the Mystic Mine.
Besides the obvious line up of 8 frog cards and mystic mine related cards, other cards require a little bit of explaining.
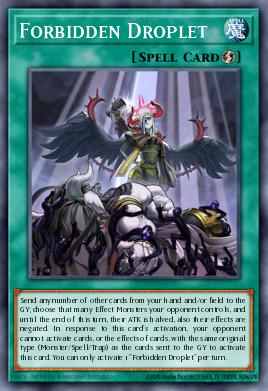
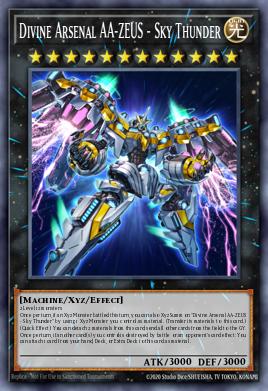
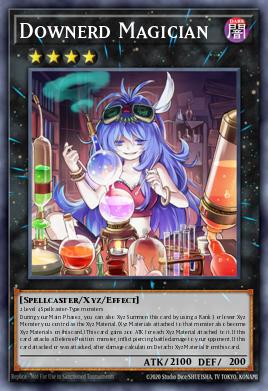
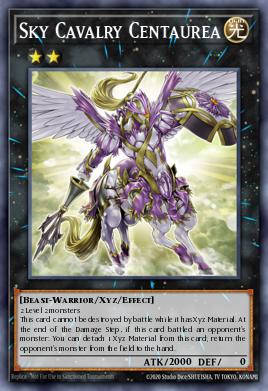
Forbidden Droplet: A counterpart to the mystic mine strategy as well as a decent disruption. It also helps you go into Sky Cavalry Centaurea into Downerd Magician into Zeus to clear the board going second.
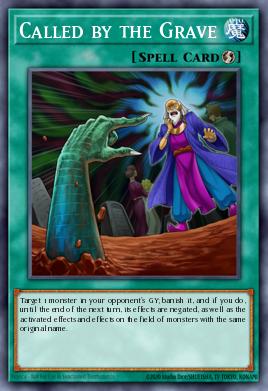
Called by the Grave: A decent going first card to ensure that you get your Toadally Awesome on the board, and not a bad disruption.
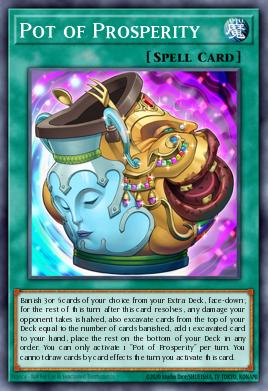
Pot of Prosperity: This deck's extra deck is not tight; there's always at least 3, most times 6 extra deck monsters you don't need in any given situation. So Pot of Prosperity is a natural card to bring to make the deck less random.
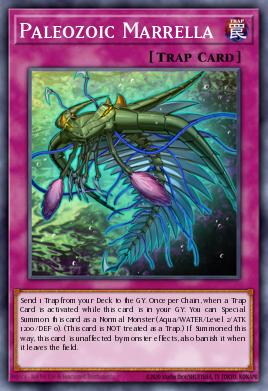
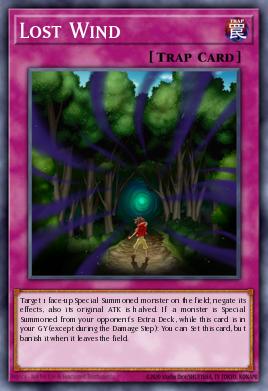
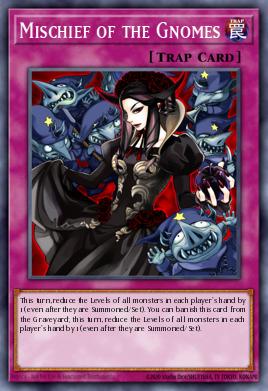
Paleozoic Marella & Lost Wind & Mischief of Gnome: Marella and Lost Wind are there for the grind game. Marella gives extra materials and Lost Wind gives you two lasting effect negation. Interestingly, you can use Marella to dump Lost Wind or Mischief of Gnome, where Mischief of Gnome should be used against Spright.
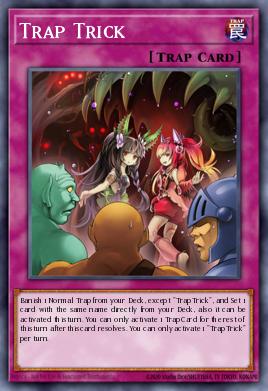
Trap Trick: To win with a trap deck, you need to have the right trap at the right moment. Trap trick helps with that.
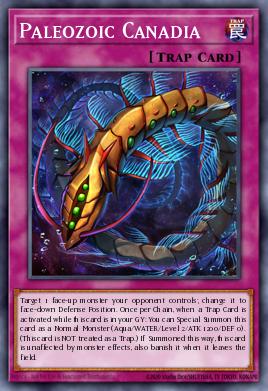
Paleozoic Dinomischus & Paleozoic Canadia: The best paleozoic traps. You can bring two of each, its your choice (as you can search it with trap trick).
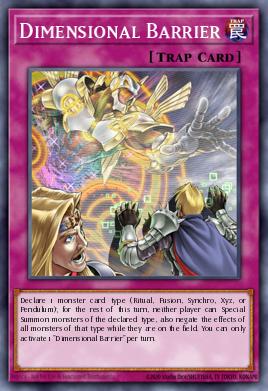
Dimensional Barrier: This is the shut down card. A trap deck always need something to completely stop their opponent from playing. A great card against a variety of decks, including Tearalament.
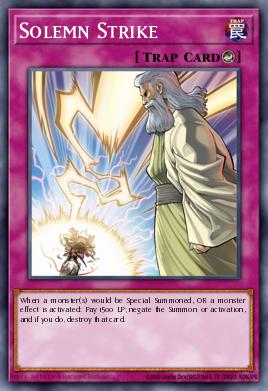
Solemn Strike: spell speed three monster negation are useful for a variety of reasons, from ensuring the activation of mystic mine to negating a hand trap when setting up your board to getting rid of your opponents monsters.
Evenly Match: A going second removal that is good for clearing both s/t and monsters.
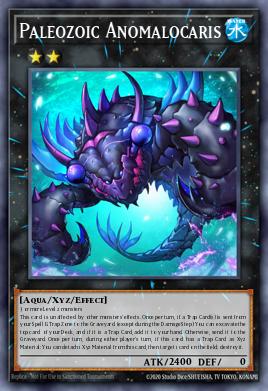
Besides the Zeus package, Paleozoic/Todally Awesome, and Spright monsters there are a few others that need a little bit of explaining. Note that the proportion of the Extra Deck monsters are only for reference; for example, exchanging Paleozoic Anomalocaris for a copy of Toadally Awesome is a good idea.
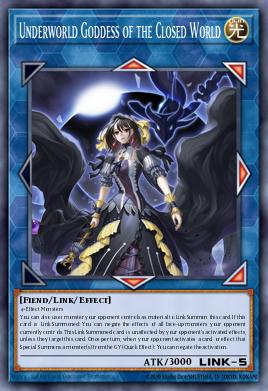
Underworld Goddess of the Closed World: To get rid of monsters that are unaffected by other effects.
Knightmare Phoenix: To get rid of potential floodgates or other s/t. However, you can exchange this with another more useful extra deck monster, because this deck main decks Paleozoic Dinomischus and Trap Trick, which can be used to remove floodgates.
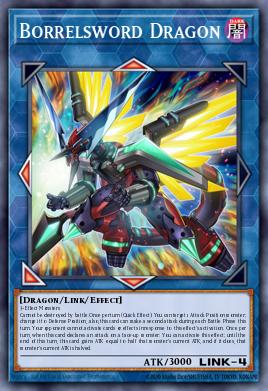
Borrelsword Dragon: To otk. This is really important, finishing your opponent off and not giving them any chance for counter play is the way to go.
Salamangreat Almiraj: For the case you draw a single swap frog: Almiraj helps you to summon Toadally Awesome.
Lava Golem: For resolving Mystic Mine. I don't side Sphere Mode because they shift control.
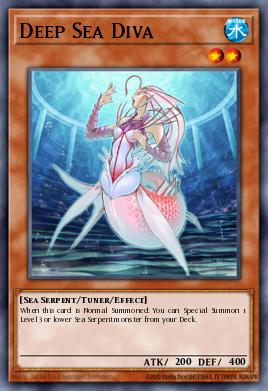
Deep Sea Diva: Water attribute (can be discarded by swap from in edge cases), 1 card Toadally Awesome + Spright Elf, what else can you ask for?
Paleozoic Frog "combos" are simple and easy. The main point is to get at least 1 swap frog into rotation with Gigantic Spright and Spright Elf (or even killing Dupe Frog) and eventually summoning Todally Awesome.
However, there are still a few ideas you need to remember. Easy means that you should play perfectly, and remember the play behind every possible hand.
Single Swap Frog, no other monster.
1. Normal summon Swap Frog, dump Ronintoadin
2. Link summon Salamangreat Almiraj
3. Special summon Ronintoadin from grave
4. Summon Spright Elf
5. Use Spright Elf to summon Ronintoadin
6. Special Summon Gigantic Spright
7. Use Gigantic Spright to summon Swap Frog
8. Dump Dupe Frog or Swap Frog
9. Summon Ronintoadin from grave
10. Summon Toadally Awesome
Single Deep Sea Diva, no other monster.
1. Summon Deep Sea Diva, use effect to special summon another Deep Sea Diva.
2. Overlay into Gigantic Spright.
3. Use Gigantic Spright effect to summon Swap Frog, Swap Frog dump Ronintoadin into grave.
4. Summon Spright Elf
5. Use Elf effect to summon Swap Frog, Swap Frog dump Dupe Frog/Swap Frog into grave.
6. Summon Ronintoadin, overlay into Toadally Awesome (Under the linked zone of Spright Elf)
Single Deep Sea Diva, single Swap Frog, no other monster.
Summon the Deep Sea Diva, follow Hand 2.
The reasoning is this: the "combo" with either monster will be stopped by a single hand trap, but summoning Deep Sea Diva keeps the Swap Frog in your hand (Swap Frog provides more flexibility in later turns), and it also results in Spright Elf + Toadally Awesome instead of just Toadally Awesome.
Swap Frog + another Frog, no other monster.
This one is a bit tedious but instructive, so please follow the logic. Common hand traps in this format are: Ghost Ogre, DD Crow, Ash Blossom, Infinite Impermanence, and PSY-Frame Gear Gamma, with PSY being the least common (common in Spright decks but in general not so much) and the one where this hand cannot deal with no matter what. So we take PSY out of the equation and only consider Ghost Ogre, DD Crow, Ash Blossom, and Infinite Impermanence.
Let's say we are in game 1, your opponent doesn't know what you are playing and will probably assume you are playing Spright.
We start with two choices, normal summon the Swap Frog or special summon it.
1. We only consider single hand trap and don't consider opponent having 2 or more hand traps as this hand cannot play through two hand traps no matter what.
2. Either way, this hand plays through an Ash Blossom or Infinite Impermanence.
3. If your opponent doesn't know what you are playing, they will save the Ghost Ogre (the correct choice against a Spright deck) no matter what you choose. If they do use the Ghost Ogre on your Swap Frog, then either way your combo is stopped.
4. So we think of a way to bait out the DD crow.
The correct way is this: to special summon the swap frog, dump a frog so that you can then attempt to special summon a Ronintoadin from grave. If your opponent don't know what you are playing, they probably will shot gun the DD crow (if they have it) as normal Spright deck run one Ronintoadin. If this happens, bounce the Swap Frog back to your hand and follow Hand 1.
If nothing happens, your opponent probably don't have a DD crow. So bounce your swap frog back to hand, normal summon it to send another Ronintoadin to grave. Now your opponent possibly have Ghost Ogre/Infinite Impermanence/Ash Blossom. You have 3 choices: special summon Toadally Awesome, special summon Spright Elf, or special summon Gigantic Spright.
1. Summon Toadally Awesome: dies to Ghost Ogre (if you attempt to activate the Standby Phase effect of Toad) or Infinite Impermanence in the next turn.
2. Summon Spright Elf: dies to infinite Impermanence.
3. Summon Gigantic Spright: dies to Ash, Infinite Impermanence, and Ghost Ogre.
Both 1. and 2. are possible, but Spright Elf gives us a better board (Toadally Awesome + Spright Elf), and decent resource recovery in the following turn if stopped by Infinite Impermanence, so we summon Spright Elf. Use Spright Elf to special summon Swap Frog, dump a frog, summon Ronintoadin from grave, then overlay into Toadally Awesome (under the linked zone of Spright Elf).
If your opponent do know what you are playing, choose 1. and do not activate during your opponent's Standby Phase.
In general, if your opponent don't know what you are playing:
1. Special summon Swap Frog
2. Special summon Ronintoadin from grave
3. Bounce Swap Frog back, normal summon it to dump another Ronintoadin
4. Special summon Spright Elf
5. Revive Swap Frog, dump another frog
6. Special summon Ronintoadin
7. Overlap into Toadally Awesome (under the linked zone of Spright Elf)
If they do know what you are playing:
4. Special summon Toadally Awesome.
5. Do not activate during your opponent's Standby Phase.
The above play maybe subjected to change depending on how well you know your opponent's deck.
Swap Frog + another Frog + Deep Sea Diva, no other monster.
1. Special summon Swap Frog
2. Special summon Ronintoadin from grave
3. Special summon Toadally Awesome.
4. Follow Hand 2.
(Put the two Toadally Awesome in the linked zone of Spright Elf)
1 Swap Frog + 2 other Frogs
This rarely comes up, but the general idea is to summon 1 Toadally Awesome first, then continue with whatever you can do next.
For something like 1 Swap + 1 Dupe Frog + Another Frog try:
1. Special summon Swap Frog throwing the other frog, keeping 1 Dupe Frog in hand.
2. Special summon Ronintoadin from grave.
3. Bounce Swap Frog back, normal summon it again to dump 1 ronintoadin
4. Special summon Toadally Awesome.
5. Normal summon Dupe Frog
6. Continue from Hand 1-Step 2, but at Hand 1-Step 7 detach a material (the swap frog) from Toadally Awesome.
7. You should find that you have an extra material to go into another Spright Elf (Using the Ronintoadin and Gigantic Spright)
8. Your final board is two Toadally Awesome and one Spright Elf.
Be mindful of hand traps and follow logical analysis as I did in Hand 4.
1. Remember that Spright Elf has a secondary effect, where monsters in its linked zone cannot be targeted by your opponents effects.
2. Remember that Swap Frog can bounce itself back to hand even after negated by Infinite Impermanence.
3. Remember that Swap Frog's "bounce back to hand" effect grants a second normal summon to a dupe frog in hand.
4. Remember that Toadally Awesome can tribute itself to negate to dodge forbidden droplet.
1. Tearalament tend to be really weak against Mystic Mine. Going second, you might want to go all in on ensuring you find your Mystic Mine, resolve it, and keep it on the board. So side in all Solemn Judgement, Dark Bribe, Evenly Match, and Terraforming. Side out all Solemn Strike, Canadia, and Marella. Going First, side in all Dimensional Barrier, Lost Wind, Solemn Judgement; side out 1 Mystic Mine, 3 Paleozoic Canadia, and 1 Forbidden Droplet.
2. Remember to side in Mischief of Gnomes for Spright going first.
3. A general rule of thumb is to always side in all Solemn Judgement going first.
I will finish this section in a later update.
If you want to try a new trap deck that is somewhat competitive in the current format, this is the deck for you. Hope you enjoy it, if you have any feedback or are confused about something, please comment below. Before you compliment my toxic nature, remember, garbage tends to be toxic.
I have always loved Paleozoic Frog as a deck and over the years have always been trying to revive the strategy. The problem with Paleozoic Frog was that its always too slow, and cannot consistently set up its board during turn 1. Not anymore; with Gigantic Spright and Spright Elf, the deck is able to set up a Todally Awesome with just 1 Swap Frog or Deep Sea Diva.
The CSM decklist was one attempt to bring back Paleo Frog. Despite its success, I felt that it was more a control centered spright variant as compared to a paleozoic frog deck. So today I bring to you, a new paleozoic frog deck that utilizes spright (extra deck) monsters, but not the other way around.
Index
- Why You Should Try This Deck
- Win Conditions
- Card Choices
- Spell Choices
- Trap Choices
- Extra Deck Monster Choices
- Other Monster Choices
- Analysis of Possible Hands
- Notes
- Siding
- Conclusion
(Control F to find each section)
Why You Should Try This Deck
1) It's simple
Simple decks are easy to play. If you are a beginner to the game, or if you want to enjoy a game of Yugioh without too much calculation, this is the deck for you.
2) It's competitive
While not technically meta, I can ensure you this deck has the ability to face against recent meta decks like Tearalament and Spright.
Against Spright
- Going first, this deck can shut down normal Spright hands with a simple Canadia/Dinomischus, and any other extenders they have with Toadally Awesome and other trap cards.
- Going second, this deck can break a full Spright board with Mystic Mine/Evenly Match/Lava Golem.
Against Tearalament
- Tear is particularly weak against Mystic Mine, so going first or second, you can kill them with Mystic Mine.
- Going first, this deck main decks 3 Trap Trick and 2 Dimensional Barrier, which you can utilize with your other trap cards and Toadally Awesome.
I have tested this deck against different meta decks, and it has so far proven itself to at least be described as a "competitive rogue deck".
3) Dynamic Board
This deck does not lose to a Dark Ruler No More, nor does it lose to Mystic Mine, nor does it lose to Skill Drain and other Shenanigans. Your board is Traps + Monster Negates.
4) It's fun
Ever felt that satisfaction when you Mystic Mine your opponent and they cannot do anything about it? Ever feel frustrated playing Spright when your opponent dark rulered your entire board? Ever felt nice that your opponent surrendered after eating 3 of your backrows? Then oh boy is this deck for you. We play yugioh because it makes us happy, and I can assure you, this deck will definitely bring a wholesome smile to your face.
(Me after activating the 3rd Mystic Mine in a fun, interactive game)
Win Conditions
Win conditions are important, knowing what they are help you deviate towards different strategies in any given game.
1) Control and Otk
This is what you usually follow going first. The basic premise is that you want to set up a board with (possibly multiple) Toadally Awesome (or something like Spright Elf + Toadally Awesome) and traps to stop your opponent from playing. If you achieved that, you probably have a lot of materials in the coming turns, which you should utilize to summon borrelsword and otk your opponent.
2) Mystic Mine and Deck Out
This is what you usually follow going second. The majority of decks don't main deck s/t removal, meaning that this is an effective winning strategy in the first game.
In the games where side decks are involved, you can run solemn judgement and dark bribe to ensure the mystic mine stays. In the case that your opponent has 3 or more monsters on the board after your mystic mine resolves, you can also summon Toadally Awesome (nothing else) to prevent any s/t removals (remember, Toadally Awesome can tribute itself to negate anything. So if you need to, you can activate one of your own traps and negate it).
Note: Be Flexible
Often, you will deviate the win strategy given different situations. Sometimes, you should stall with Mystic Mine until you have enough resources to beat your opponent without the Mystic Mine, so you eventually get rid of the Mystic Mine (either through its own effect, or setting another Mystic Mine). Sometimes, you just don't have enough to beat your opponent via normal resources, so you use Mystic Mine. When you have Mystic Mine on the board, always make sure you have a way to continue the game if the opponent outs the Mystic Mine.
Card Choices
Besides the obvious line up of 8 frog cards and mystic mine related cards, other cards require a little bit of explaining.
Spell Choices
Forbidden Droplet: A counterpart to the mystic mine strategy as well as a decent disruption. It also helps you go into Sky Cavalry Centaurea into Downerd Magician into Zeus to clear the board going second.
Called by the Grave: A decent going first card to ensure that you get your Toadally Awesome on the board, and not a bad disruption.
Pot of Prosperity: This deck's extra deck is not tight; there's always at least 3, most times 6 extra deck monsters you don't need in any given situation. So Pot of Prosperity is a natural card to bring to make the deck less random.
Trap Choices
Paleozoic Marella & Lost Wind & Mischief of Gnome: Marella and Lost Wind are there for the grind game. Marella gives extra materials and Lost Wind gives you two lasting effect negation. Interestingly, you can use Marella to dump Lost Wind or Mischief of Gnome, where Mischief of Gnome should be used against Spright.
Trap Trick: To win with a trap deck, you need to have the right trap at the right moment. Trap trick helps with that.
Paleozoic Dinomischus & Paleozoic Canadia: The best paleozoic traps. You can bring two of each, its your choice (as you can search it with trap trick).
Dimensional Barrier: This is the shut down card. A trap deck always need something to completely stop their opponent from playing. A great card against a variety of decks, including Tearalament.
Solemn Strike: spell speed three monster negation are useful for a variety of reasons, from ensuring the activation of mystic mine to negating a hand trap when setting up your board to getting rid of your opponents monsters.
Evenly Match: A going second removal that is good for clearing both s/t and monsters.
Extra Deck Monster Choices
Besides the Zeus package, Paleozoic/Todally Awesome, and Spright monsters there are a few others that need a little bit of explaining. Note that the proportion of the Extra Deck monsters are only for reference; for example, exchanging Paleozoic Anomalocaris for a copy of Toadally Awesome is a good idea.
Underworld Goddess of the Closed World: To get rid of monsters that are unaffected by other effects.
Knightmare Phoenix: To get rid of potential floodgates or other s/t. However, you can exchange this with another more useful extra deck monster, because this deck main decks Paleozoic Dinomischus and Trap Trick, which can be used to remove floodgates.
Borrelsword Dragon: To otk. This is really important, finishing your opponent off and not giving them any chance for counter play is the way to go.
Salamangreat Almiraj: For the case you draw a single swap frog: Almiraj helps you to summon Toadally Awesome.
Other Monster Choices
Lava Golem: For resolving Mystic Mine. I don't side Sphere Mode because they shift control.
Deep Sea Diva: Water attribute (can be discarded by swap from in edge cases), 1 card Toadally Awesome + Spright Elf, what else can you ask for?
Analysis of Possible Hands
Paleozoic Frog "combos" are simple and easy. The main point is to get at least 1 swap frog into rotation with Gigantic Spright and Spright Elf (or even killing Dupe Frog) and eventually summoning Todally Awesome.
However, there are still a few ideas you need to remember. Easy means that you should play perfectly, and remember the play behind every possible hand.
Hand 1
Single Swap Frog, no other monster.
1. Normal summon Swap Frog, dump Ronintoadin
2. Link summon Salamangreat Almiraj
3. Special summon Ronintoadin from grave
4. Summon Spright Elf
5. Use Spright Elf to summon Ronintoadin
6. Special Summon Gigantic Spright
7. Use Gigantic Spright to summon Swap Frog
8. Dump Dupe Frog or Swap Frog
9. Summon Ronintoadin from grave
10. Summon Toadally Awesome
Hand 2
Single Deep Sea Diva, no other monster.
1. Summon Deep Sea Diva, use effect to special summon another Deep Sea Diva.
2. Overlay into Gigantic Spright.
3. Use Gigantic Spright effect to summon Swap Frog, Swap Frog dump Ronintoadin into grave.
4. Summon Spright Elf
5. Use Elf effect to summon Swap Frog, Swap Frog dump Dupe Frog/Swap Frog into grave.
6. Summon Ronintoadin, overlay into Toadally Awesome (Under the linked zone of Spright Elf)
Hand 3
Single Deep Sea Diva, single Swap Frog, no other monster.
Summon the Deep Sea Diva, follow Hand 2.
The reasoning is this: the "combo" with either monster will be stopped by a single hand trap, but summoning Deep Sea Diva keeps the Swap Frog in your hand (Swap Frog provides more flexibility in later turns), and it also results in Spright Elf + Toadally Awesome instead of just Toadally Awesome.
Hand 4
Swap Frog + another Frog, no other monster.
This one is a bit tedious but instructive, so please follow the logic. Common hand traps in this format are: Ghost Ogre, DD Crow, Ash Blossom, Infinite Impermanence, and PSY-Frame Gear Gamma, with PSY being the least common (common in Spright decks but in general not so much) and the one where this hand cannot deal with no matter what. So we take PSY out of the equation and only consider Ghost Ogre, DD Crow, Ash Blossom, and Infinite Impermanence.
Let's say we are in game 1, your opponent doesn't know what you are playing and will probably assume you are playing Spright.
We start with two choices, normal summon the Swap Frog or special summon it.
1. We only consider single hand trap and don't consider opponent having 2 or more hand traps as this hand cannot play through two hand traps no matter what.
2. Either way, this hand plays through an Ash Blossom or Infinite Impermanence.
3. If your opponent doesn't know what you are playing, they will save the Ghost Ogre (the correct choice against a Spright deck) no matter what you choose. If they do use the Ghost Ogre on your Swap Frog, then either way your combo is stopped.
4. So we think of a way to bait out the DD crow.
The correct way is this: to special summon the swap frog, dump a frog so that you can then attempt to special summon a Ronintoadin from grave. If your opponent don't know what you are playing, they probably will shot gun the DD crow (if they have it) as normal Spright deck run one Ronintoadin. If this happens, bounce the Swap Frog back to your hand and follow Hand 1.
If nothing happens, your opponent probably don't have a DD crow. So bounce your swap frog back to hand, normal summon it to send another Ronintoadin to grave. Now your opponent possibly have Ghost Ogre/Infinite Impermanence/Ash Blossom. You have 3 choices: special summon Toadally Awesome, special summon Spright Elf, or special summon Gigantic Spright.
1. Summon Toadally Awesome: dies to Ghost Ogre (if you attempt to activate the Standby Phase effect of Toad) or Infinite Impermanence in the next turn.
2. Summon Spright Elf: dies to infinite Impermanence.
3. Summon Gigantic Spright: dies to Ash, Infinite Impermanence, and Ghost Ogre.
Both 1. and 2. are possible, but Spright Elf gives us a better board (Toadally Awesome + Spright Elf), and decent resource recovery in the following turn if stopped by Infinite Impermanence, so we summon Spright Elf. Use Spright Elf to special summon Swap Frog, dump a frog, summon Ronintoadin from grave, then overlay into Toadally Awesome (under the linked zone of Spright Elf).
If your opponent do know what you are playing, choose 1. and do not activate during your opponent's Standby Phase.
In general, if your opponent don't know what you are playing:
1. Special summon Swap Frog
2. Special summon Ronintoadin from grave
3. Bounce Swap Frog back, normal summon it to dump another Ronintoadin
4. Special summon Spright Elf
5. Revive Swap Frog, dump another frog
6. Special summon Ronintoadin
7. Overlap into Toadally Awesome (under the linked zone of Spright Elf)
If they do know what you are playing:
4. Special summon Toadally Awesome.
5. Do not activate during your opponent's Standby Phase.
The above play maybe subjected to change depending on how well you know your opponent's deck.
Hand 5
Swap Frog + another Frog + Deep Sea Diva, no other monster.
1. Special summon Swap Frog
2. Special summon Ronintoadin from grave
3. Special summon Toadally Awesome.
4. Follow Hand 2.
(Put the two Toadally Awesome in the linked zone of Spright Elf)
Hand 6
1 Swap Frog + 2 other Frogs
This rarely comes up, but the general idea is to summon 1 Toadally Awesome first, then continue with whatever you can do next.
For something like 1 Swap + 1 Dupe Frog + Another Frog try:
1. Special summon Swap Frog throwing the other frog, keeping 1 Dupe Frog in hand.
2. Special summon Ronintoadin from grave.
3. Bounce Swap Frog back, normal summon it again to dump 1 ronintoadin
4. Special summon Toadally Awesome.
5. Normal summon Dupe Frog
6. Continue from Hand 1-Step 2, but at Hand 1-Step 7 detach a material (the swap frog) from Toadally Awesome.
7. You should find that you have an extra material to go into another Spright Elf (Using the Ronintoadin and Gigantic Spright)
8. Your final board is two Toadally Awesome and one Spright Elf.
Be mindful of hand traps and follow logical analysis as I did in Hand 4.
Notes
1. Remember that Spright Elf has a secondary effect, where monsters in its linked zone cannot be targeted by your opponents effects.
2. Remember that Swap Frog can bounce itself back to hand even after negated by Infinite Impermanence.
3. Remember that Swap Frog's "bounce back to hand" effect grants a second normal summon to a dupe frog in hand.
4. Remember that Toadally Awesome can tribute itself to negate to dodge forbidden droplet.
Siding
1. Tearalament tend to be really weak against Mystic Mine. Going second, you might want to go all in on ensuring you find your Mystic Mine, resolve it, and keep it on the board. So side in all Solemn Judgement, Dark Bribe, Evenly Match, and Terraforming. Side out all Solemn Strike, Canadia, and Marella. Going First, side in all Dimensional Barrier, Lost Wind, Solemn Judgement; side out 1 Mystic Mine, 3 Paleozoic Canadia, and 1 Forbidden Droplet.
2. Remember to side in Mischief of Gnomes for Spright going first.
3. A general rule of thumb is to always side in all Solemn Judgement going first.
I will finish this section in a later update.
Conclusion
If you want to try a new trap deck that is somewhat competitive in the current format, this is the deck for you. Hope you enjoy it, if you have any feedback or are confused about something, please comment below. Before you compliment my toxic nature, remember, garbage tends to be toxic.
Main Deck (40 Card Deck)


Extra Deck
Side Deck


Deck Breakdown
Other Decks on ygoprodeck.com
Login to join the YGOPRODeck discussion!
0 reactions
 Cool
0
Cool
0
 Funny
0
Funny
0
 Angry
0
Angry
0
 Sad
0
Sad
0